

Hey everybody! I’m going to show you how to take an unused or a brand-new flash drive, how to format it, and how to turn it into a macOS installer flash drive. And you can do that with a Windows computer.
I’m going to show you today how to make it on a Windows computer because I know a lot of you may not have access to a Mac computer. You may only have access to a Windows computer.
Steps
1. Preparing the Flash Drive
So the first thing we’re going to do is we’re going to take our flash drive and we’re going to go ahead and connect it to our computer. Now, I know I mentioned this earlier, but make sure it’s one that you don’t need the information on or it’s a brand new one.
So once you connect it to the computer, if it’s a brand new one, it’ll automatically pull up like this one did. Now if it’s not a brand new one, that’s okay. And if it’s formatted correctly, that’s okay as well.
2. Formatting the Flash Drive
What we’re going to do is we’re going to right-click on the Windows start icon, and we’re going to go to our Disk Management.
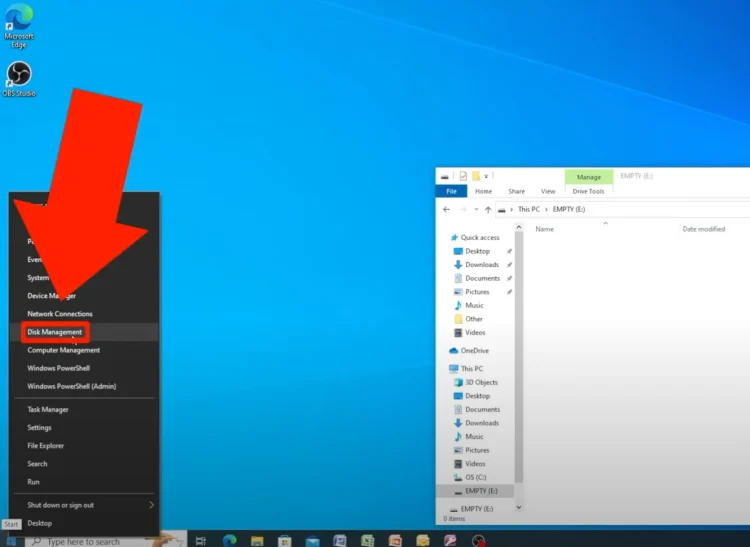
Now once this opens, it may show up down here with volumes. Sometimes you can right-click on them and you can delete them. If that doesn’t work, that’s okay.
What you can also do is you can right-click up here on the name of the flash drive, and then you can just go and you can format it or you can delete the volumes there. I’m just gonna tell it to format, and I’m gonna leave it as empty.

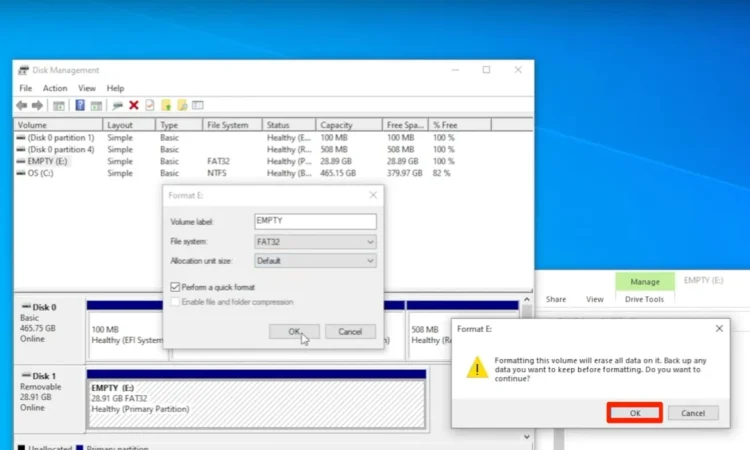
You can change it to either NTFS or FAT32 or exFAT. It doesn’t matter. I’m just going to leave it as FAT32 at the moment. And then I’m just going to leave the default allocation unit size.
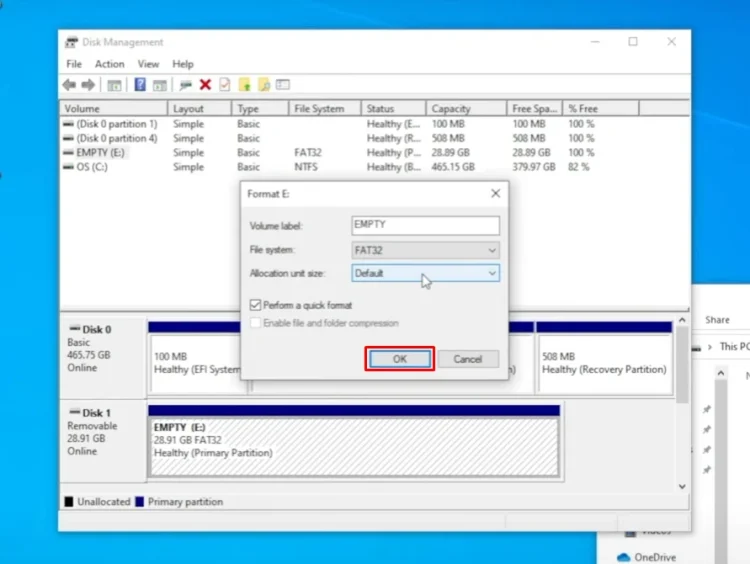
So I’m going to click OK, and I’m going to tell it OK again, and it’s going to erase it. Now, once it erases it, it’s ready to be used by Windows, but we don’t want it to be used by Windows. We want it to be used by Mac.
3. Preparing the macOS Installer
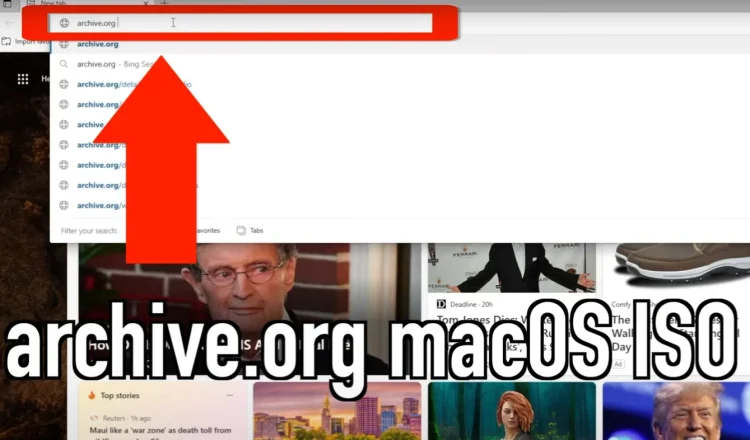
Now we’re going to go to the internet. So click on Microsoft Edge or whatever browser you want to use, Firefox, Chrome, it doesn’t matter.
Just go to the internet, and we’re going to go up here to the very top, and we’re just going to search for archive.org and then a space and then I’m going to search for macOS ISO installers.
archive.org macos iso installers
Oh, there it goes, and it says no longer maintaining, but here’s the thing, it’s got a macOS ISO collection. We’re going to go ahead and click on that.
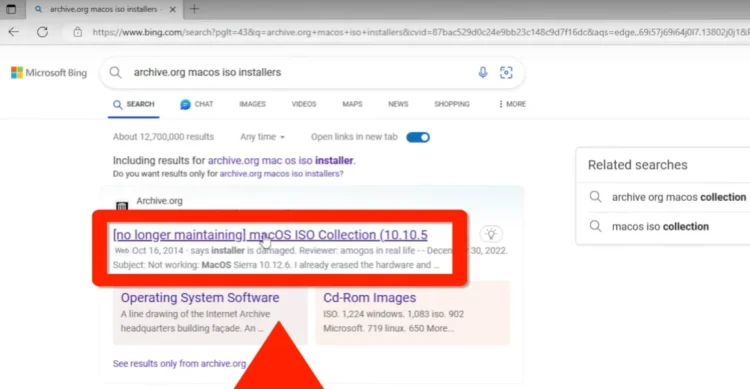
This person has put together an incredible collection of all the different macOS versions that are available now if for some reason. I’ve noticed that sometimes it doesn’t pull up the very first time, you might just have to hit refresh on it.
4. Downloading the macOS Installer
And then we’re just going to scroll down, and right here it has a bunch of ISO images.
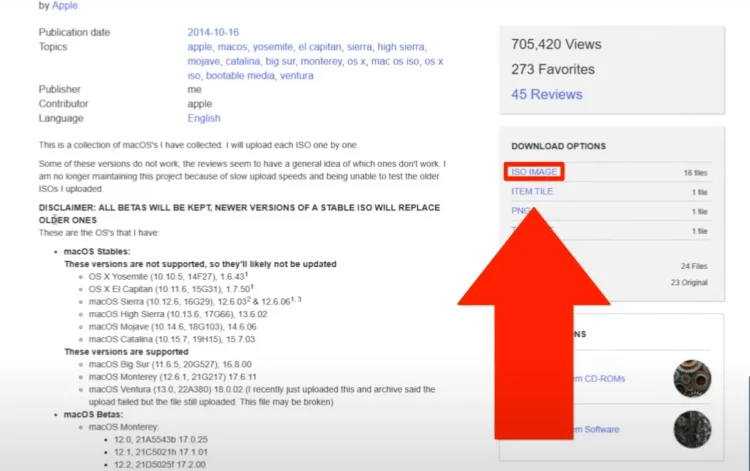
So I’m just going to click on name. Oh, and look, there’s all of those different image files. Well, the one we want to download today is just the 10.13.6 High Sierra.
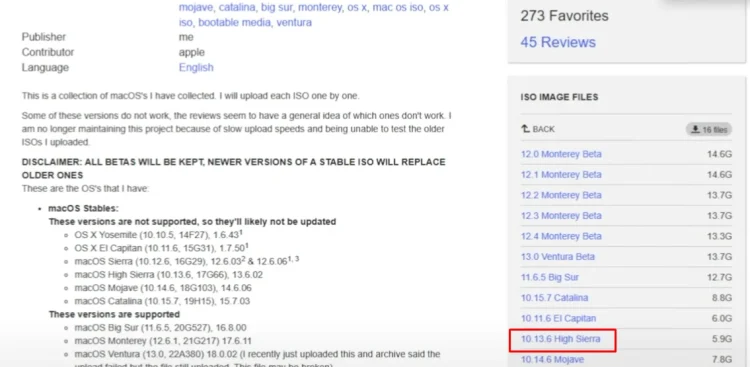
You could probably also click on the little arrow beside it that looks like it’s pointing down to the line, and it’s going to start downloading it. Now, this is going to take quite a while, but what I’m going to do as soon as that finishes, I’m going to show it to you in the downloads folder.
And we’ll pick right back up, and I’m going to show you how to take that ISO and get it onto your flash drive and make it bootable.
5. Converting the macOS Installer
Okay, so my download just finished downloading. So I’m going to minimize the browser, and then I’m going to click right here on the File Explorer.
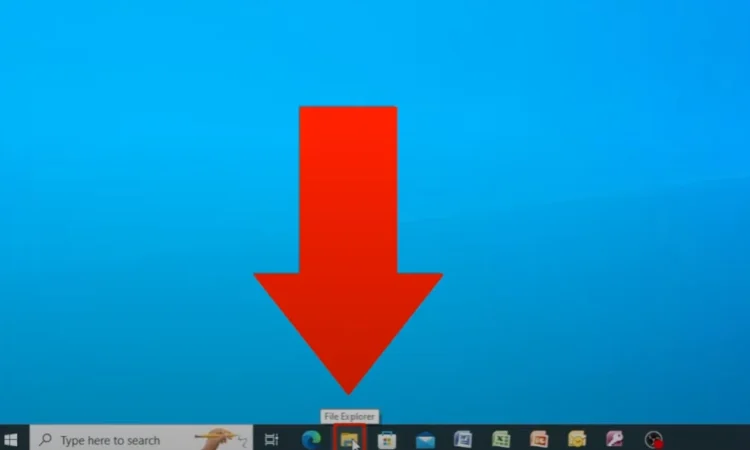
And then I’m going to click on Downloads.
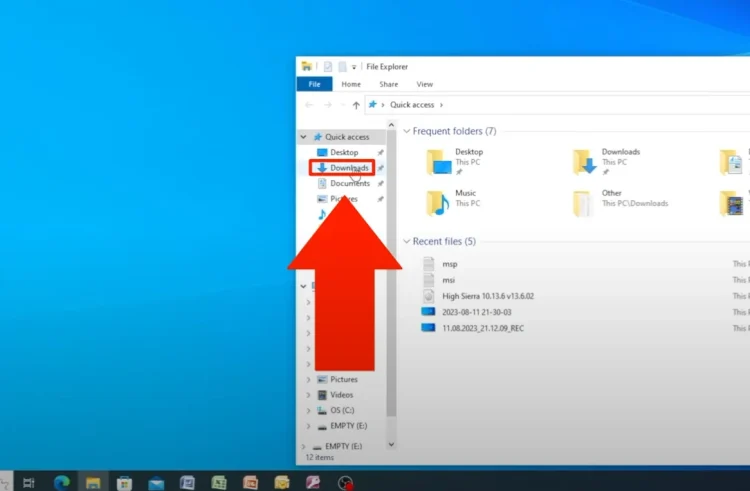
Now, if you’ll notice, right here is the High Sierra 10.13.6 v13.6.02 and it’s an ISO file.
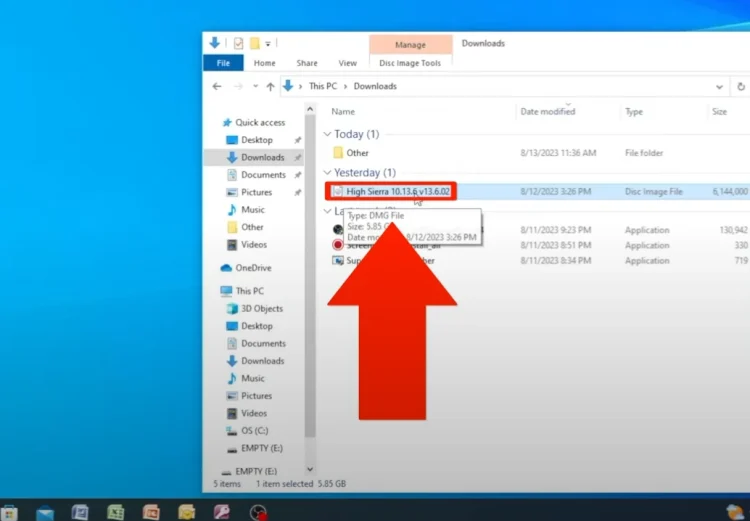
It doesn’t say that but if I right-click on it and go to properties right here it’s a disk image file which is an ISO.
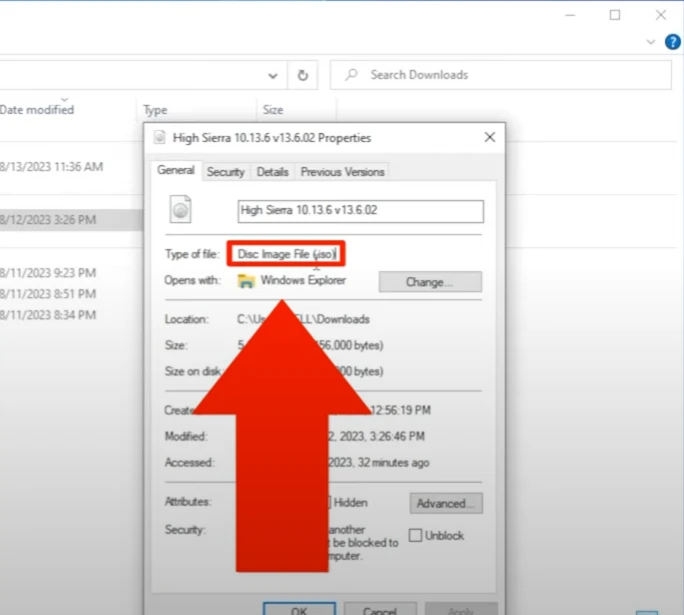
Well this is great but guess what it has to be DMG. Not a problem we’re going to fix that.
6. Using TransMac to Prepare the Installer
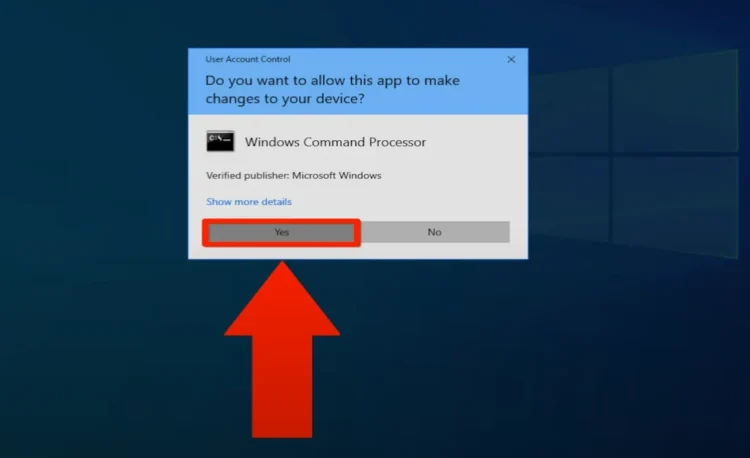
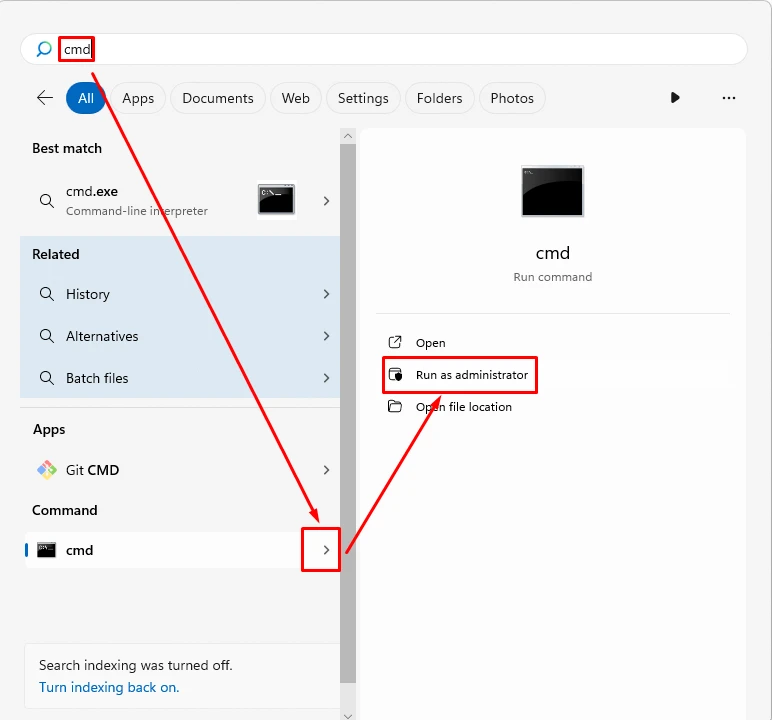
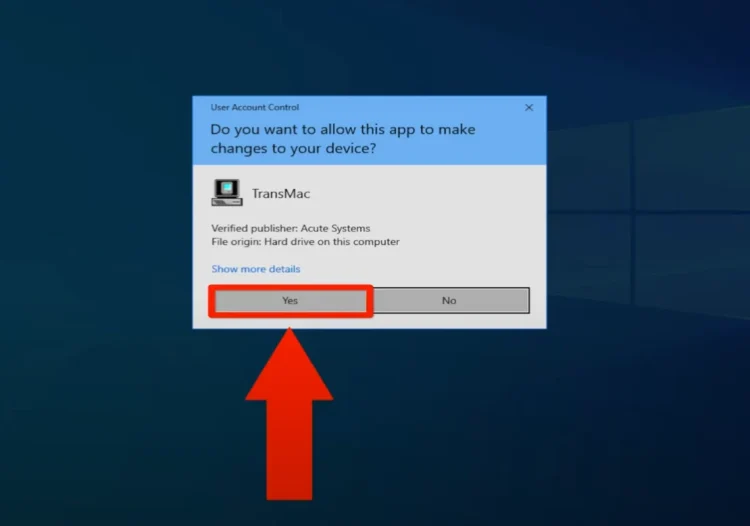
I’m going to type in CMD and then I’m going to right-click on command prompt, and I’m going to say run as administrator.

And click “Yes”
If you are using Windows 11, do this:
Now when this pulls up, what we’re going to do is we’re going to go into our user folder, into the downloads folder, and we’re going to rename it.
So on my computer, I’m going to go to the users folder. Then I’m going to go to my account on the computer. Then I’m going to go into the downloads, and then I’m going to tell it to rename, and you don’t have to type the whole thing.
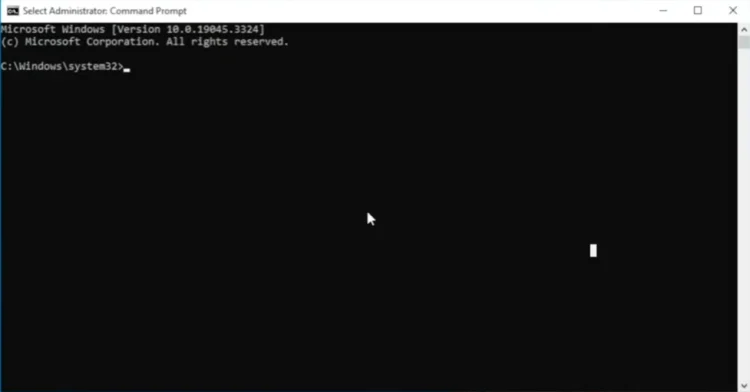
After the “CMD” window opens, you will see C:Windows/system32> to the left of the cursor.
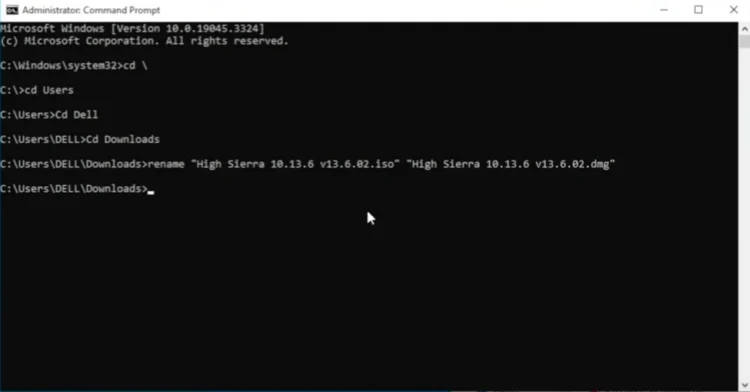
- Type cd \ to navigate to the C directory.
- Next, type cd Users to navigate to the Users folder.
- Type cd Dell if your account name is Dell.
- Type cd Downloads to navigate to the Downloads folder.
- Now we need to rename the downloaded iso file to dmg. Write rename “High Sierra 10.13.6 v13.6.02.iso” “High Sierra 10.13.6 v13.6.02.dmg” and press Enter.
Watch this. If I type “hi“, and then I press the tab, it fills all of it in for you. That’s going to save you a lot of time. Then I’m going to press the space bar, and I’m going to put a quote, and I’m going to type hi again and hit the tab.
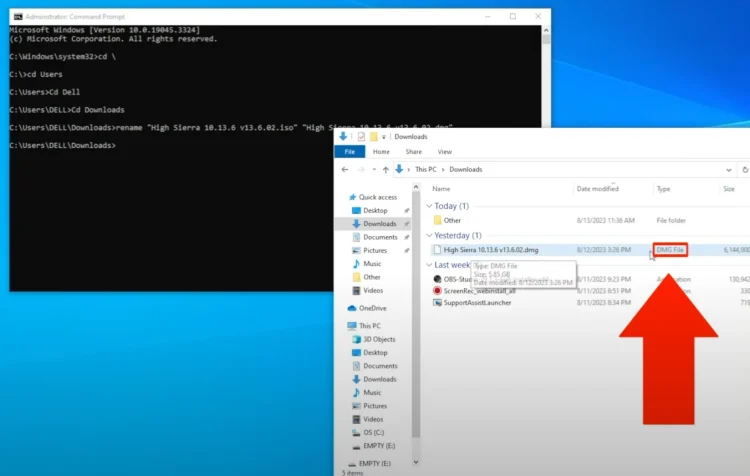
But then now I don’t want to rename it to ISO. I want to back up just a little bit. And right after that last period, I’m going to put DMG instead of ISO. And then I’m going to put another quote and now I’m going to press enter. Now, if you’ll notice over here in the downloads folder now it’s no longer a disk image file it’s a DMG file this is exactly what we want.
So what we’re going to do now is there’s a special program that we can run on Windows that’ll take that DMG file and it’s going to allow us to install that on our flash drive. So what we’re going to do now is we’re going to go back to the internet. And I’m going to go and I’m going to search for TransMac.
7. Downloading TransMac

Now this program only gives you a 15-day trial, but that is plenty of time because you can create the installers that you need and you can get your Mac back up and running.
Now if for some reason you would like to have it longer or if you need to do another one later on after that 15-day window, not a problem. It’s just $59 and it should last forever.
So check that out. But I’m gonna go ahead and download it now, and we’re just gonna get it from Techspot. It doesn’t matter which of these you download it from. Make sure it doesn’t have a virus though. A lot of these websites you download stuff, it could have viruses or malware attached to it.
I know if you download it from Techspot, you’ll be fine. You won’t have any viruses. So we’re gonna go ahead and click on that.

Here it is, and we’re just gonna click on download now and there goes now it’s gonna start downloading our file.
8. Installing TransMac
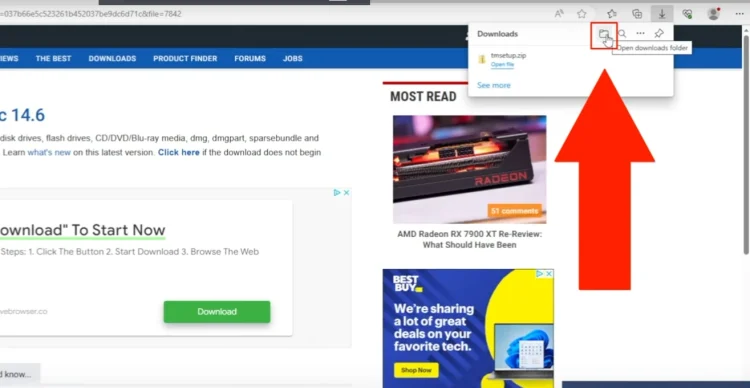
Okay so it finished downloading. So what I’m gonna do now is I’m gonna click on the little folder icon which is gonna take me back to my downloads folder.
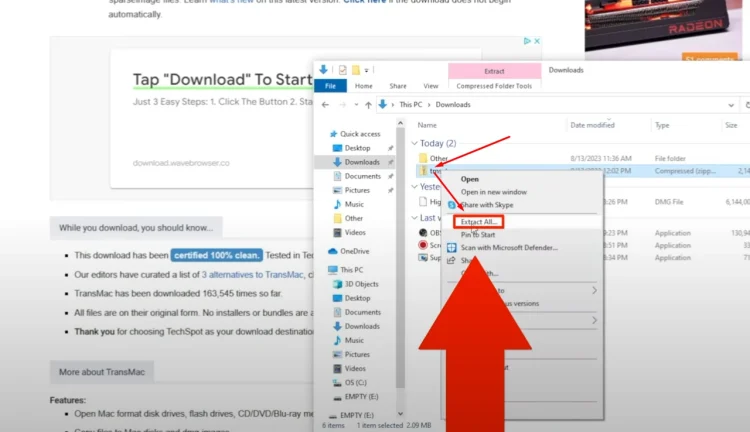
And then this tmsetup right here, that’s the TransMac. We’re going to right-click on it. We’re going to extract all.
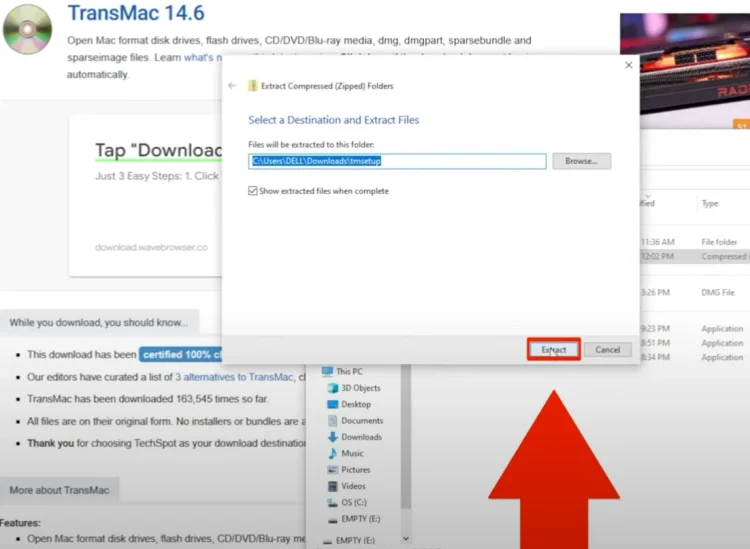
I’m going to leave it as the default folder. That’s fine. And just click Extract.
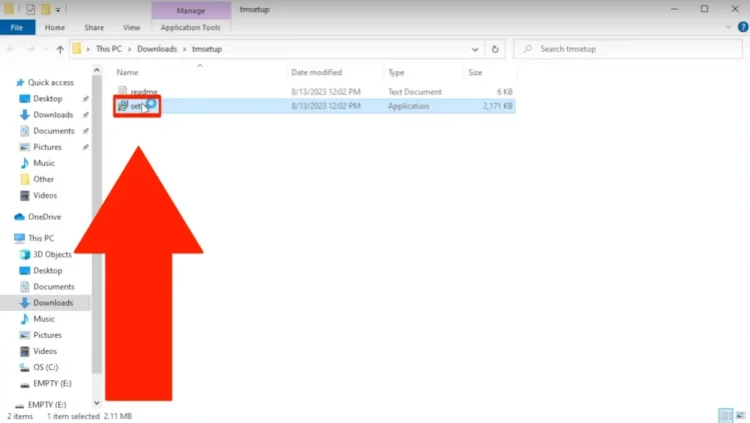
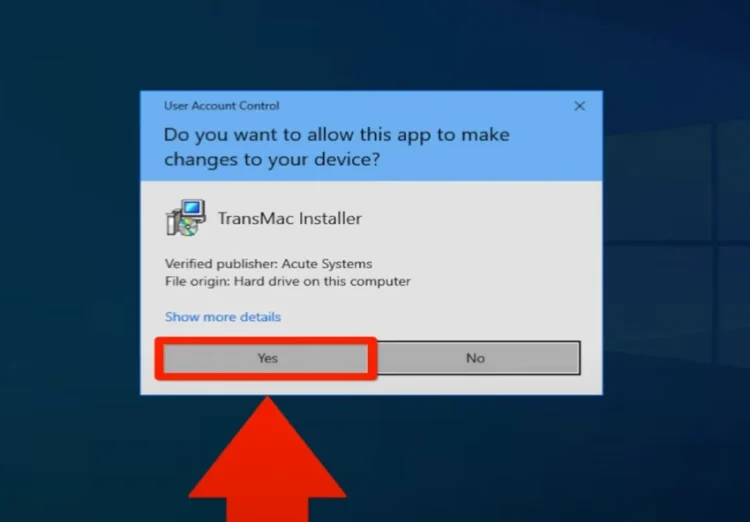
Okay. Now I’ve got it where I can install the setup. So we’re going to double click on Setup.
We’re going to click yes to and start the setup.
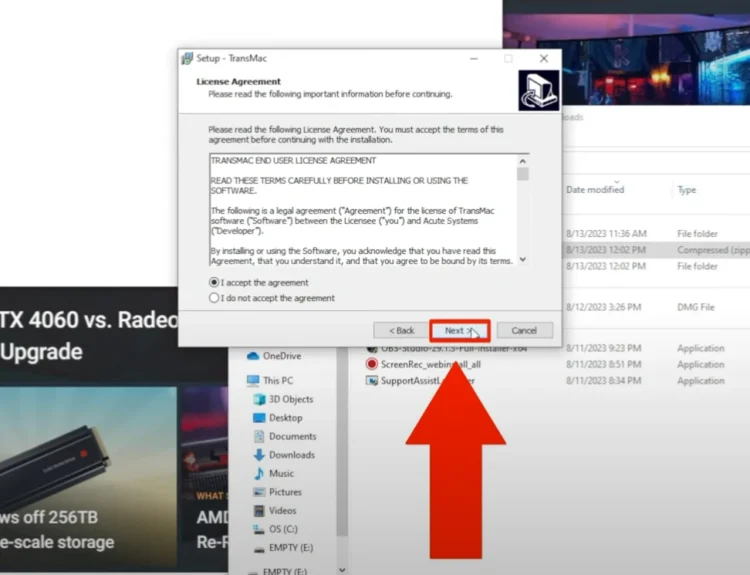
Click Next and then you have to accept their agreement so go ahead and do that and click Next.
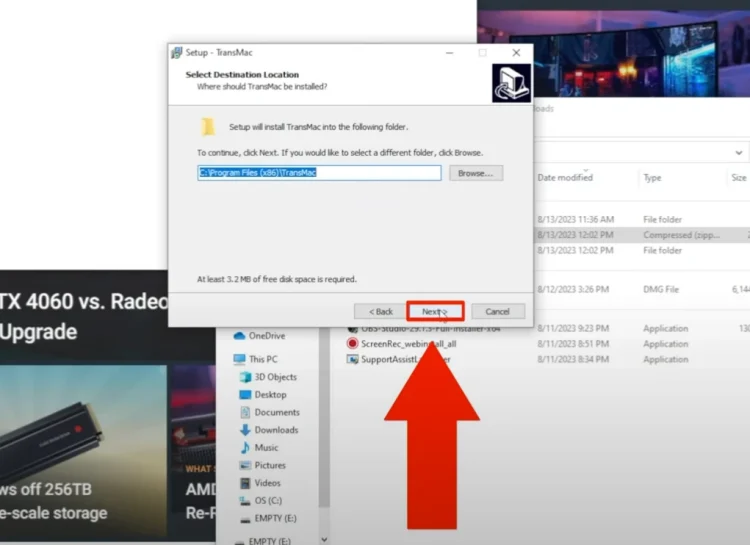
And wants to know where you want to install it.
I just leave it at the default and go ahead and click Next.
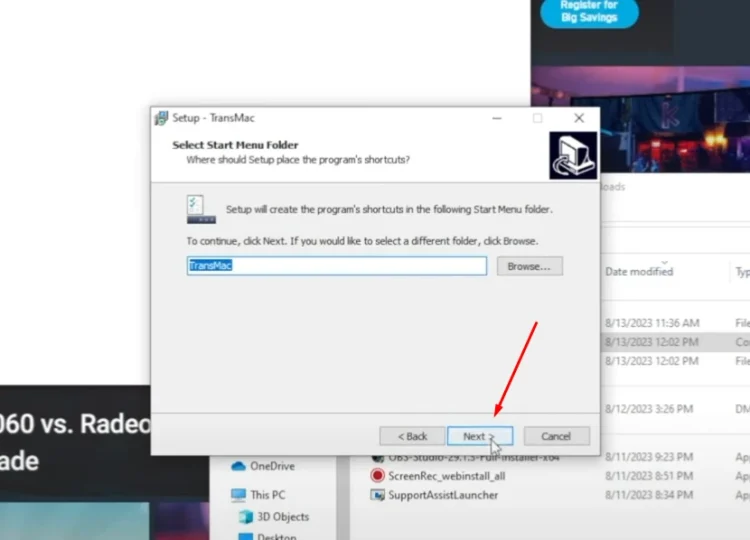
Then it wants to know what you want the folder name to be called in the program folders down there when you click on start. I’m just gonna leave it as TransMac and click Next.
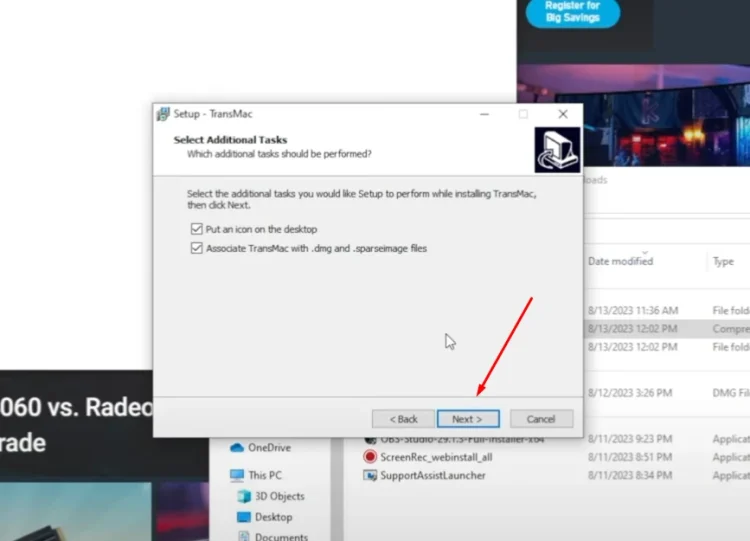
And then it wants to know do you want to put an icon on the desktop and you also want to associate TransMac with any DMG and sparse image files now. I think this is a great idea because your Windows computer is not going to know what to do with the DMG file or a sparse image file.
But if you go ahead and associate TransMac with those files it would know what to do. So I would go ahead and leave both of those on and just click Next.
And then go ahead and click Install.
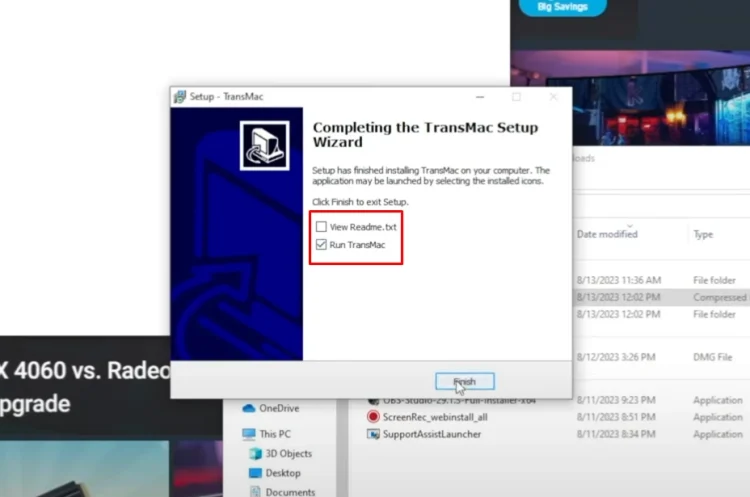
I’m not gonna open up the readme so I’m just gonna uncheck that. But I am gonna go ahead and run Transmac. So I’m gonna let leave that check and click Finish.
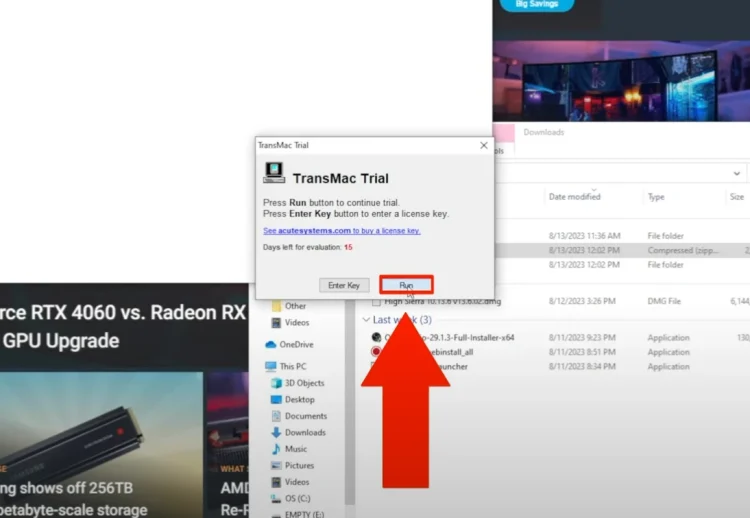
And here you go. This is where it says that I only have a 15 day evaluation left. And you have to wait I think it’s 10 seconds or something just wait and then you can click on the Run button.
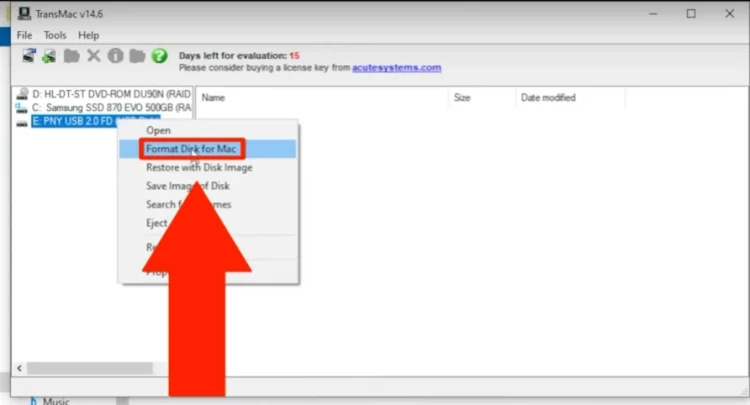
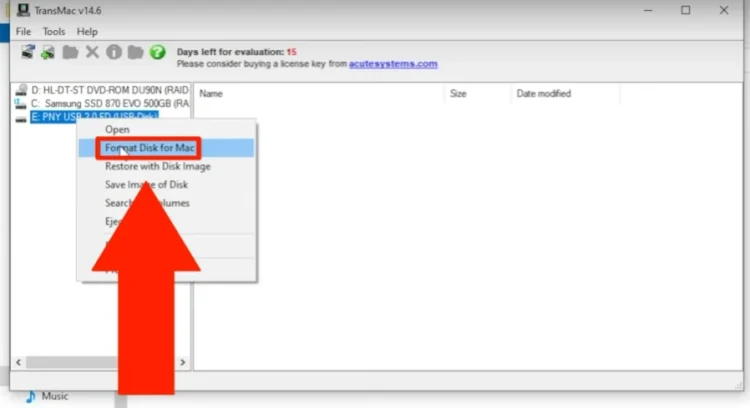
Now we’re ready to go. So what you can see is right here up in the top left corner I’ve got my E: drive which is the PNY flash drive right there. I’m gonna right click on that and I’m gonna Format Disk for Mac.
And it also wants you to be an administrator so we’re gonna go ahead and we’re gonna say Yes. Restart TransMac as an administrator and then it wants to know are you sure because Windows wants to make sure you can run it as administrator. So I’m gonna click Yes and then it reopens.
You have to wait 10 more seconds. Once you’re able to, go ahead and tell it to run. And then we’ll be able to format that flash drive. And now you can right-click on the flash drive. And you can format the disk for Mac.
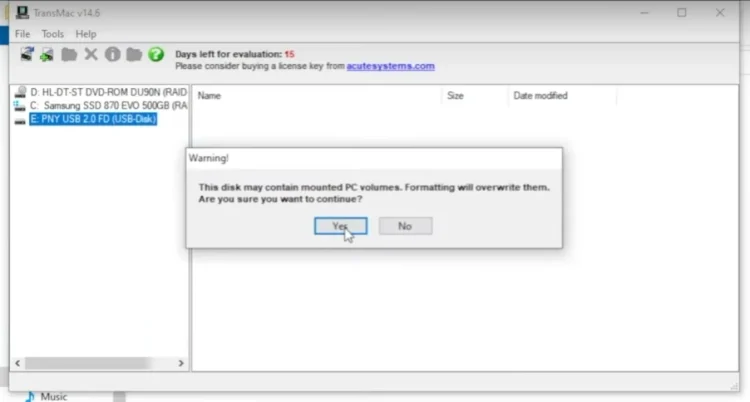
And then it says, are you sure? Because it’s going to then it says are you sure because it’s gonna erase it you’ve already erased it before so it’s okay to do it again so just click Yes.
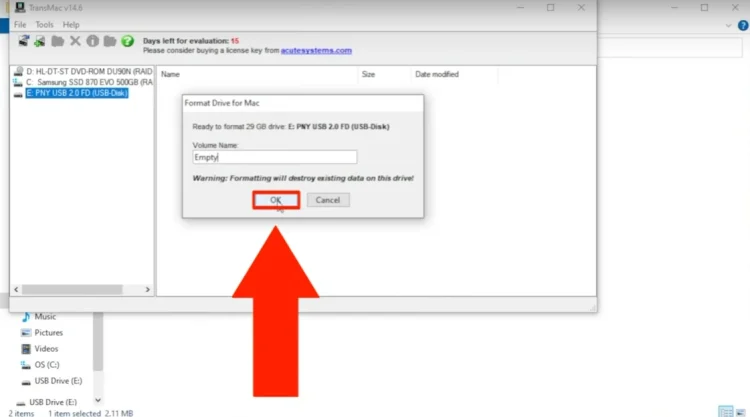
it wants to know what name it doesn’t really matter I’m gonna call it “Empty” and then just press OK.
And it gives you one last chance to keep your information but we don’t need it so just go ahead and click Yes.

Now it’s formatting. Once this finishes we’re gonna go ahead and we’re gonna be able to put that DMG file on the flash drive using this tool. So give us just a few more minutes and once that finishes then I’m going to show you what steps you have to take.
And it’ll take it a few minutes to put all those files on the flash drive but once it’s done it’s ready to go. And it’ll work on your Mac and you’ll be able to boot to it.
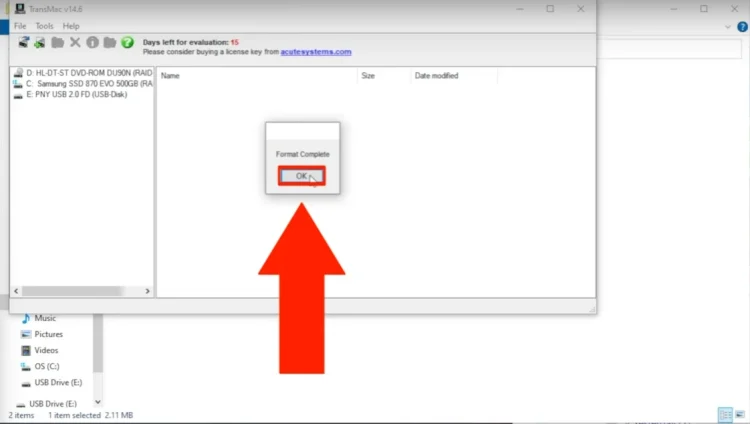
Okay so it just finished. So we’re gonna click OK.
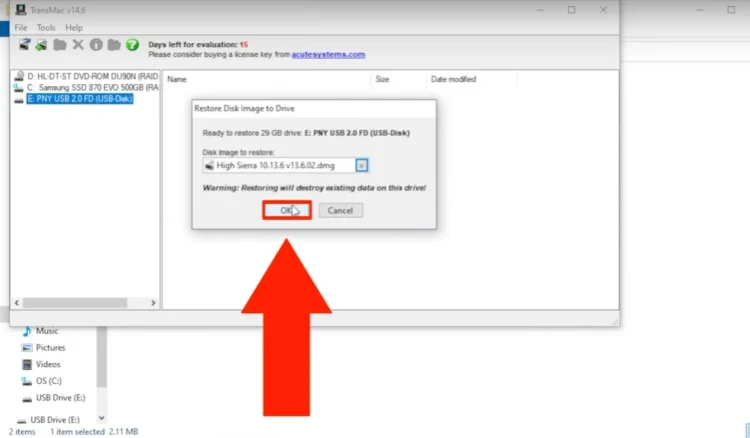
Now what we’re gonna right click on our flash drive and we’re gonna restore with a disk image.
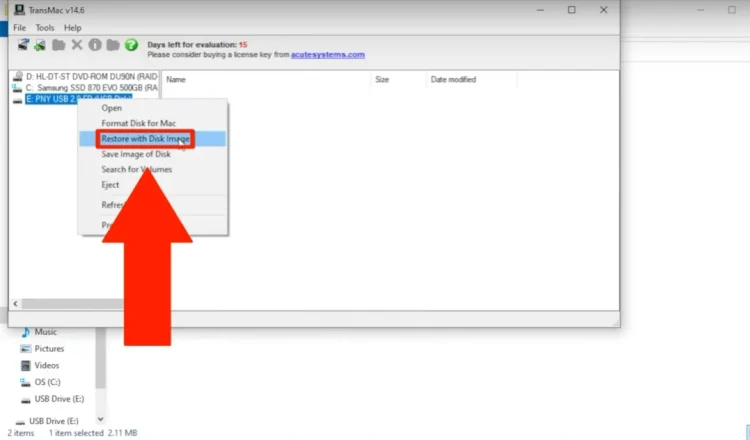
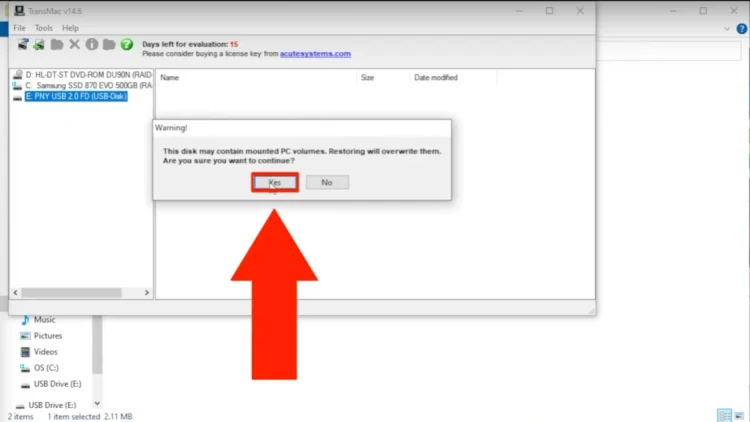
Once I click that, it’s okay. It says it’s going to overwrite your flash drive again. Just click Yes.
And it wants us to select the disk image. What we’re going to do is we’re going to click on the three dots.
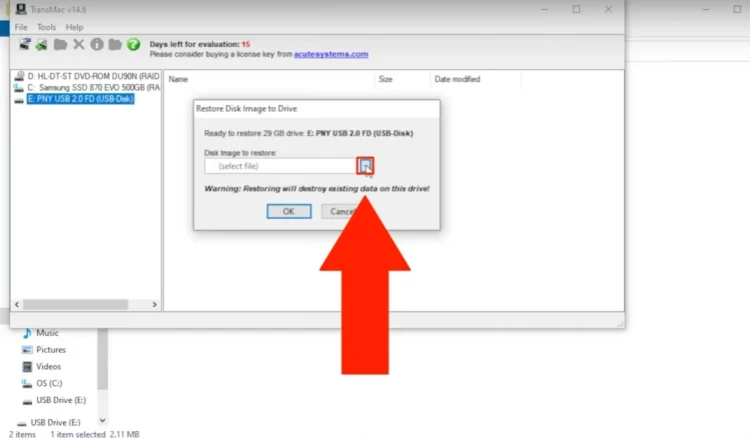
We’re going to go to our downloads and there is our Mac disk image that we want. So we’re gonna click one time on that, click Open.

And then click OK.
And it says, are you sure one last time? It always gives you another warning, just in case you didn’t mean to do that. So I’m gonna go ahead and click Yes.
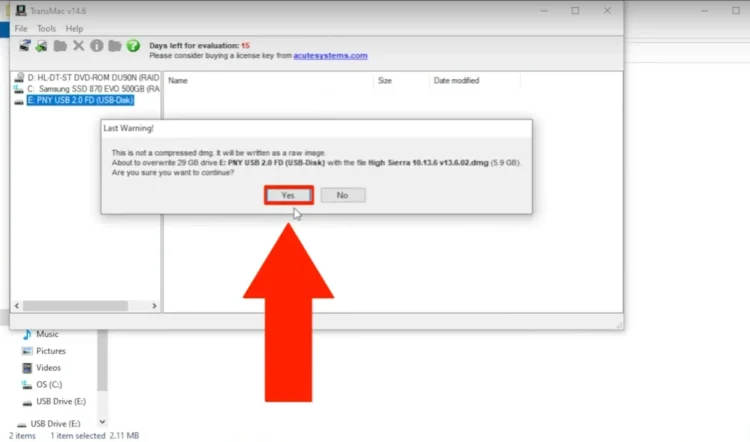
And it’s gonna start, and it’s gonna erase the whole flash drive again. And it’s gonna put everything that’s in that disk image on your flash drive. And it’s going to be bootable.
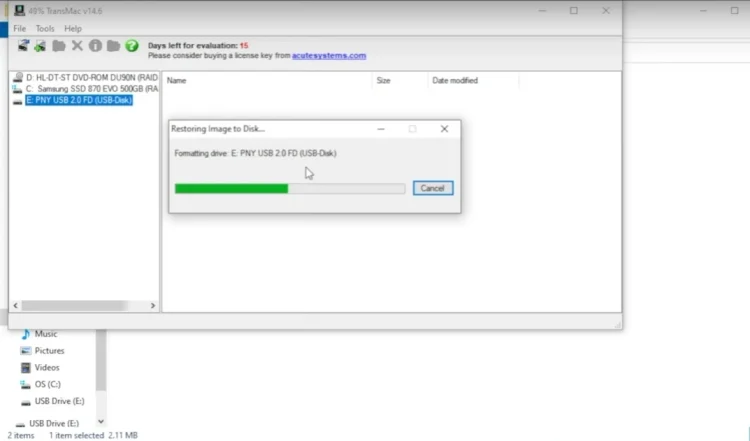
So let’s let that finish and when it does I’ll show you how it actually does boot up on a Mac. And it’ll work and you can use it to boot your Mac whether it’s an iMac, Mac mini, Mac Pro, any of the Macs that you have. And it’ll boot up so you can use that as one of your options when you’re starting the computer up.
9. Completing the Process
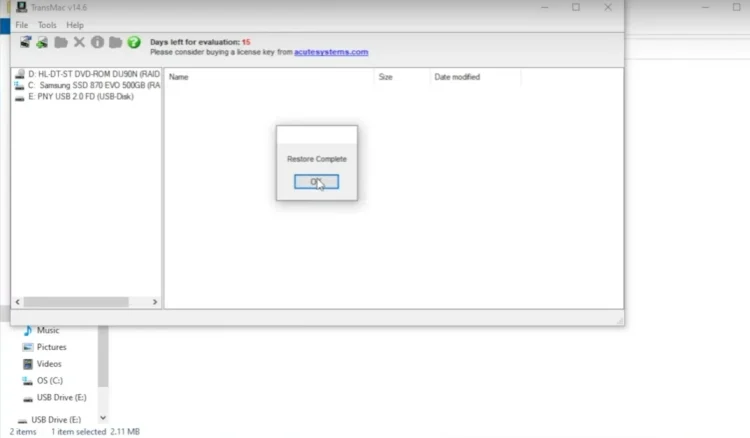
Okay, so it just finished restoring everything to the flash drive. So we’re going to click OK on that window and then we’re going to close out of the TransMac program.
Now you can close all these other windows that are open as well. And then we’re just going to go in here and we’re going to eject the flash drive from the computer.
So you can click on the little arrow at the bottom right corner of your screen
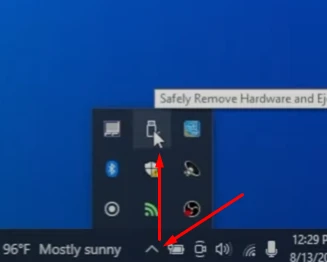
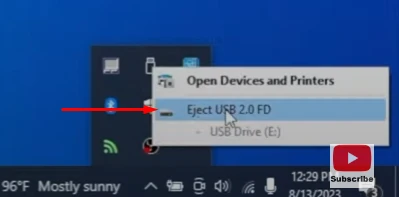
And then you can click on the little USB icon, and you can tell it to eject.
And now I can remove it from the computer. Now I’m gonna go ahead and shut this computer down, and I’m gonna pull up a Mac computer and show you how we can boot this flash drive to the Mac computer and you can install macOS High Sierra if you want to.
10. Booting on a Mac
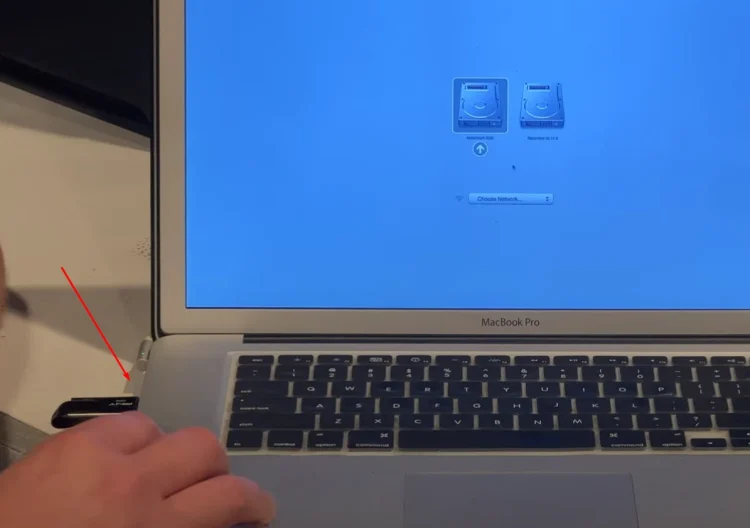
Okay, so I have my MacBook Pro sitting here and it’s turned off at the moment. So what I’m going to do is I’m going to go ahead and press the power button and then I’m going to hold down the option key.
On some of your Macs you might have to continue to press and hold the power button in order to get to the list of options. But once I hold down options you can see this is where I can pick what I want to boot to.
Now if I take this flash drive we just created and I put it in the USB slot of the MacBook Pro.
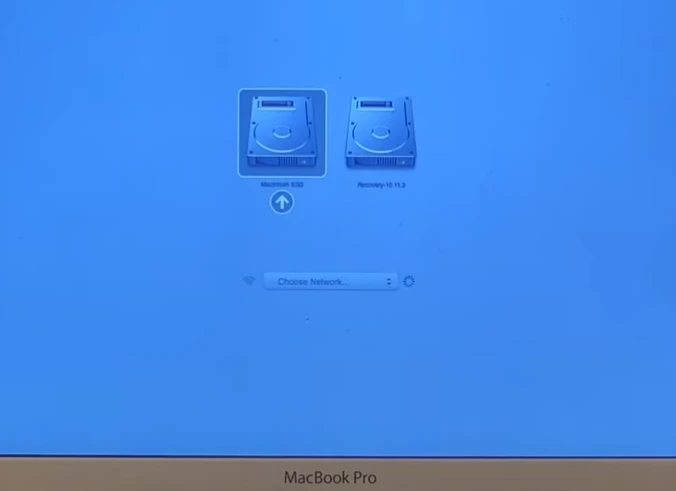
In just a second you’ll see the installer pop up and we can boot to it.
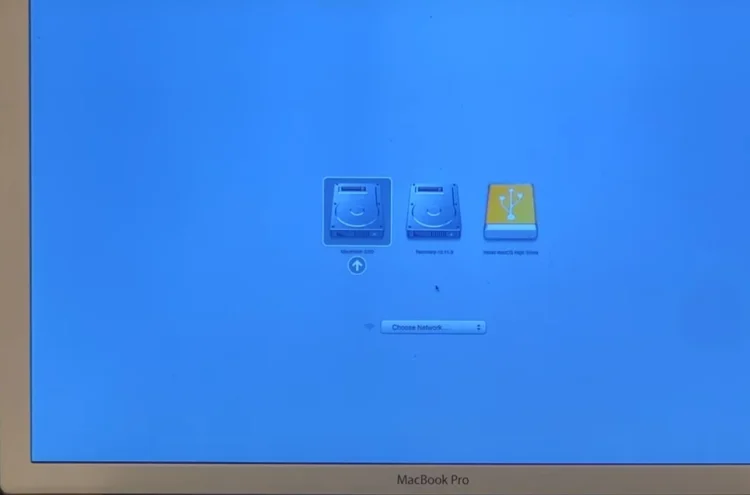
There you go and as you can see it is macOS High Sierra so I can click on that and I can click the little arrow.
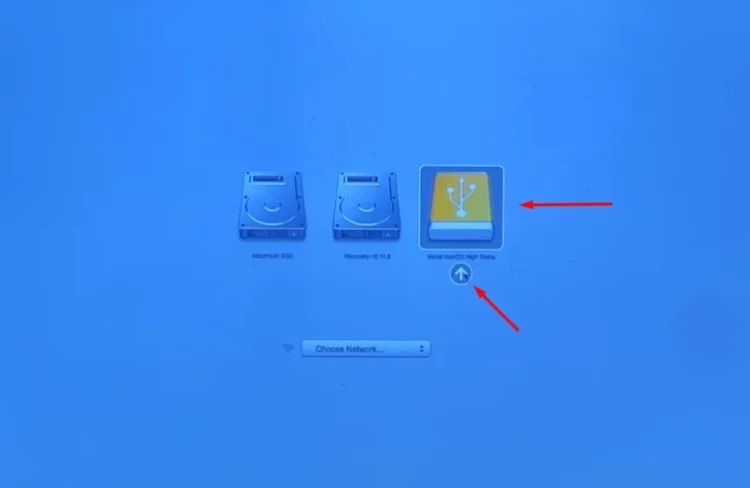
And now it’s gonna boot into that installer which would then let you install macOS High Sierra on this computer.
So I hope that was helpful on how to create a macOS High Sierra flash drive installer on a Windows computer. If you have any questions or comments please feel free to leave them down below in the comment section. I’ll be more than happy to get back to you.
Друг, спасибо из России!
Благодаря этой статье я оживил свой старенький Mac mini 2011, который работал (правда, не очень хорошо) под Linux.
До этого пробовал несколько статей и никак не получалось установить. Сейчас же всё прошло очень гладко.
You are a wizard and this is great work! This helped me get my old Mac Book Pro 2012 going so i could get back into Music and Logic