
Regardless of the fact that DOS is not a widely used operating system today, many devices and systems continue to run it. In particular, a number of instructions for updating (firmware) BIOS recommend that all procedures be carried out in the environment of this operating system.
Creating a bootable USB for DOS may still be relevant in a number of areas, and therefore in this material we will write about the system itself and how to create a bootable USB.
What is DOS?
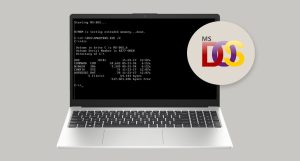
DOS, which stands for Disk Operating System, is an operating system designed to work with disk drives. The key moment for its emergence was the appearance in 1981 of the MS-DOS system, which was created by Microsoft for the first personal computers IBM PC. The DOS system is organized quite simply. It operates on a command line basis where the user needs to enter special commands to perform operations. This could be launching a program, copying a file, or managing disk partitions. The entire user interface is reduced to a black and white screen with a blinking cursor, where one-line commands perform control functions.
Modern devices that support DOS
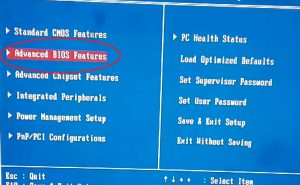
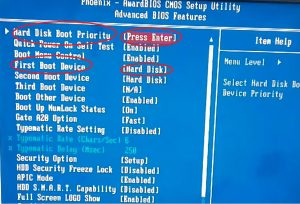
Examples of systems and media in which DOS still plays an important role are varied. When it comes to personal computers, the BIOS, whose earliest versions were closely related to DOS, uses an architecture based on its elements and if it is updated, it is the DOS environment that is required. Motherboard manufacturers may provide updates that run exclusively under DOS. This system is still relevant for solving problems such as memory testing, hard drive diagnostics, or firmware flashing of individual devices (for example, IPMI or RAID controllers). Sometimes network or system administrators need to perform complex operations with DOS batch files, such as for mass deployment of software or updates.
Devices that people don’t access as often as their own smartphones or computers often also run on DOS or its modifications. In particular, embedded systems, such as those in industry and manufacturing, where the reliability and lightness of the operating system are required, are often based on DOS. Cash registers, some models of ATMs, motor control devices – all of them can operate under DOS or its modifications.
In addition to these areas, the system still finds its application in medical devices, for example, in tomographs, where a complex graphical interface is not required, but the stability of the system is important. It is also worth mentioning that DOS is still used by some fans of old computer games and developers for educational purposes to learn the basics of operating systems and low-level programming.
In what cases might it be useful to create a bootable USB flash drive for DOS?
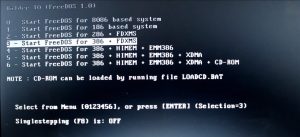
A bootable USB with DOS operating system is a specialized tool that includes a DOS (Disk Operating System) system on external media. The creation of such a device is relevant for a user who is faced with the need to diagnose or restore a system running DOS, or who requires access to low-level utilities that are independent of the main operating system of the computer.
Creating a Bootable DOS USB Drive
First of all, make sure you have a free USB drive, the minimum required volume of which is 4 GB.
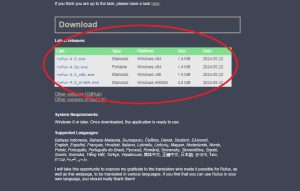
Download Rufus from the official website. You can choose both full and portable versions.
Let’s start installing and creating a bootable drive.
At this point, launch Rufus and insert the flash drive into a free port. Rufus will detect it in the “Device” field, and if there is another value there, select your USB drive from the list.
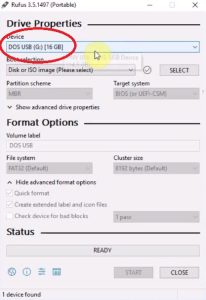
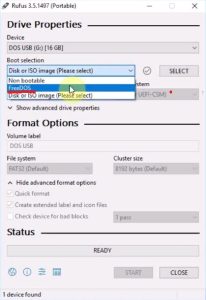
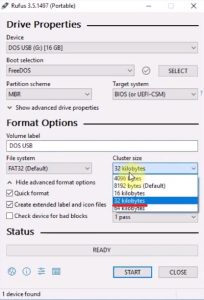
Next, in the “Boot Selection” field we will select the “FreeDOS” value. The program will automatically change the partition recording style, target system and file system.

May your process of creating a DOS bootable usb be successful.