
Discover a hassle-free method for creating a Windows 7, 8, or 10 installation USB without the need for formatting. Follow our step-by-step guide to select the ISO or DVD, choose the USB flash drive, and decide on the file system—all without losing important data. Get ready for a seamless Windows installation experience with our user-friendly approach!
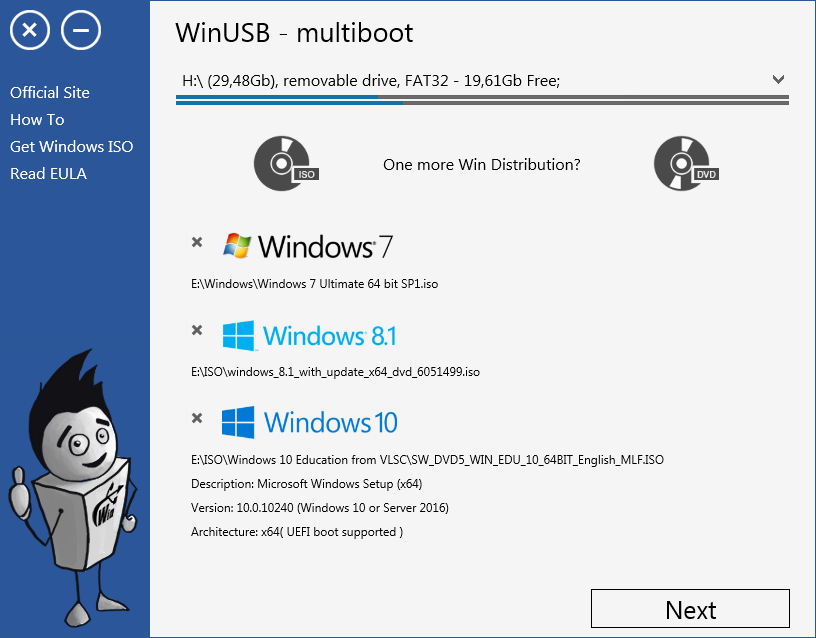
Select ISO or DVD to burn
First you need to select what type of distribution you have:
- Windows Installation DVD
- Windows ISO file
If you currently do not have any of them, don’t worry, it’s extremely simple to get Windows ISO from Microsoft website!
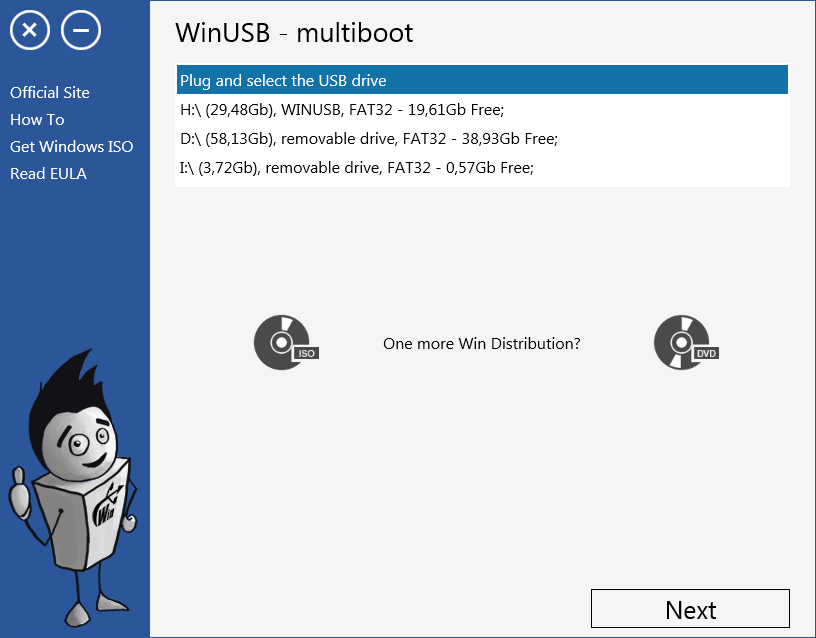
Choose USB flash drive
Ok, now that we defined the type of distribution, we need to choose the flash drive which will be bootable. You need a USB stick at least 4 GB of free space.
When you plug it in, I will show it automatically in combo-box. The horizontal line below of stick name represents the ratio of free and used space. If you remove some data from selected drive or unplugging it, I’ll see it automatically.
Choose file system, if necessary
If you have enough space on flash drive to put windows distribution to it without remove something, I’ll ask you whether you want to format it to one of known operation systems to get clean Windows USB drive.
But if space is not enough, I will have to insist on formatting to release it, because I don’t know what files on drive are important for you and what does not. Of course you can transfer your files in a safe place )
In text under check-boxes, you can see additional information about selected by default work mode and causes of this choice.
Ok! When you will ready just click “Go” button, I’ll take care of the rest!
Note! Booting in UEFI with NTFS USB drive required disabled boot security option.