
In this article, I will show you how to install WoeUSB software on Ubuntu and use it to create a Windows 11 bootable USB drive. WoeUSB is renowned as the best tool in Linux for creating Windows installation media. For this tutorial, I’m using Ubuntu 22.04.
Download Windows 11 ISO
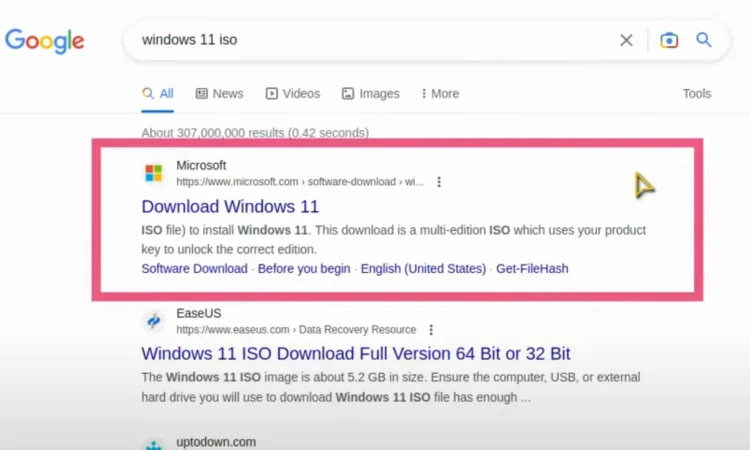
First, we need to get the Windows ISO. Search Google for Windows 11 ISO.

The first link provided should be from Microsoft. Click on it.
Scroll down to find the section to download the Windows 11 ISO. Select Windows 11 Edition.
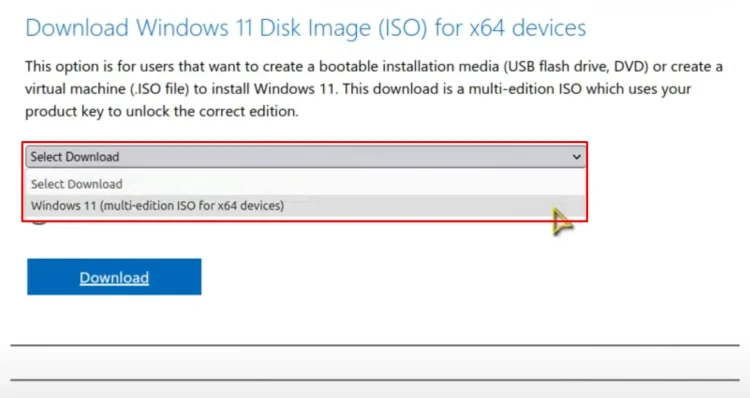
Click Download, then select English (United States) as the language. Click Confirm.
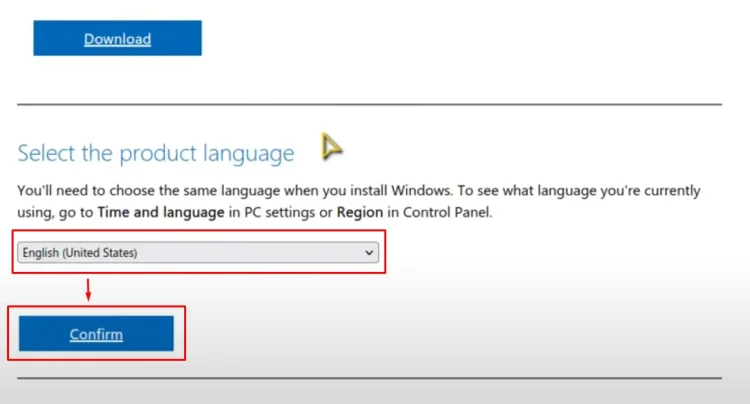
Here is the link to download a 64-bit ISO file. This link is only valid for 24 hours to complete the download.
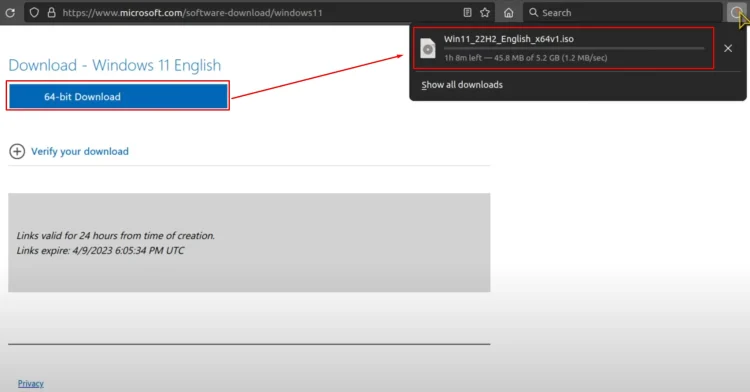
Otherwise, you will need to generate a new link and restart the download.
Install WoeUSB
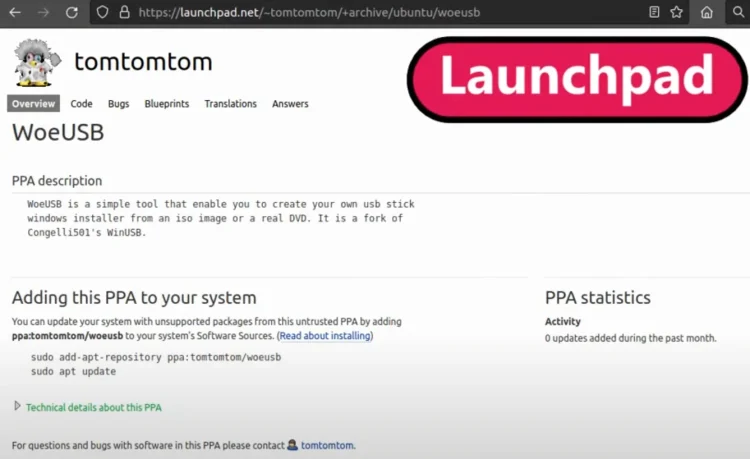
Now, let’s install the WoeUSB software. Here is a PPA page on Launchpad.
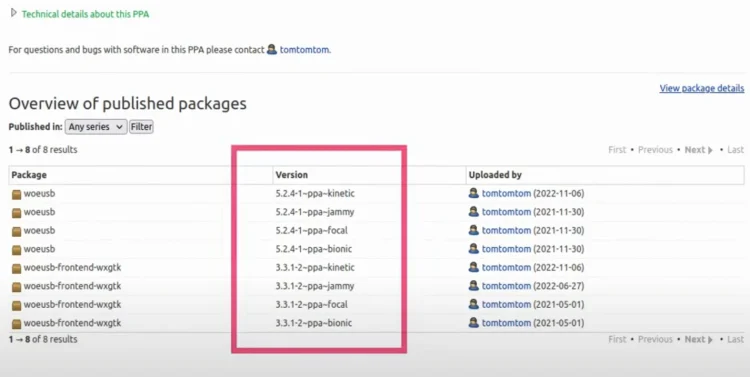
If you scroll down, you’ll find the supported versions of Ubuntu.
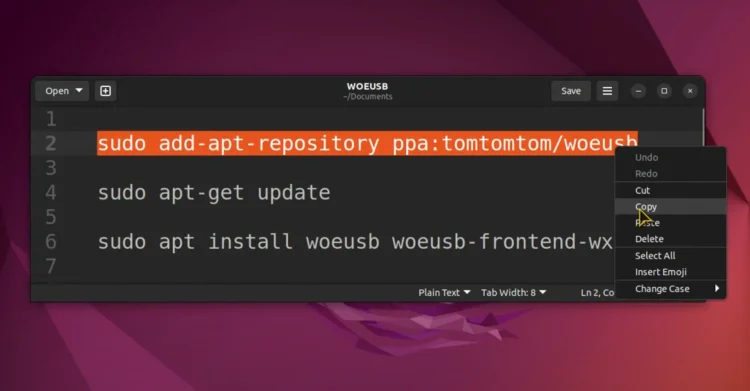
The software has a graphical interface which makes things easier. To install the software, we need to copy and paste these lines into the terminal.
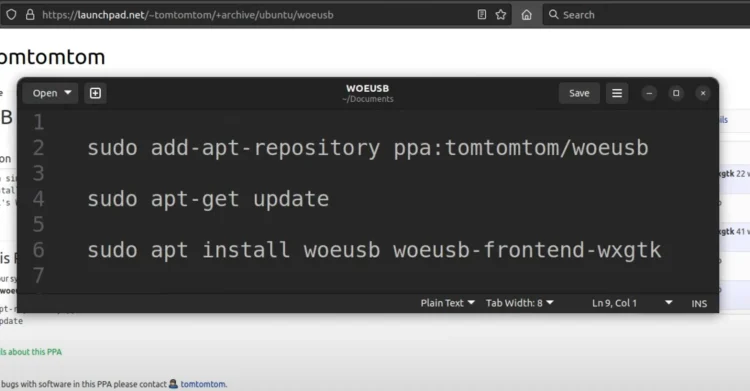
sudo add-apt-repository ppa:tomtomtom/woeusb

sudo apt update

sudo apt install woeusb woeusb-frontend-wxgtk
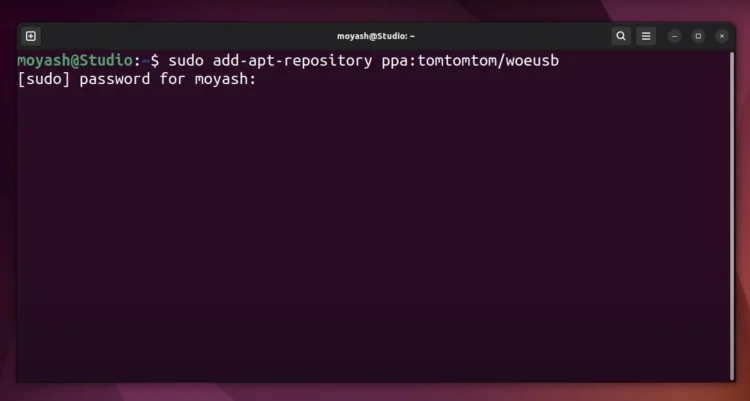
Copy the first line and paste it into the terminal.
Hit Enter on your keyboard. Type in your password. Hit Enter again.
Copy and paste the second line.
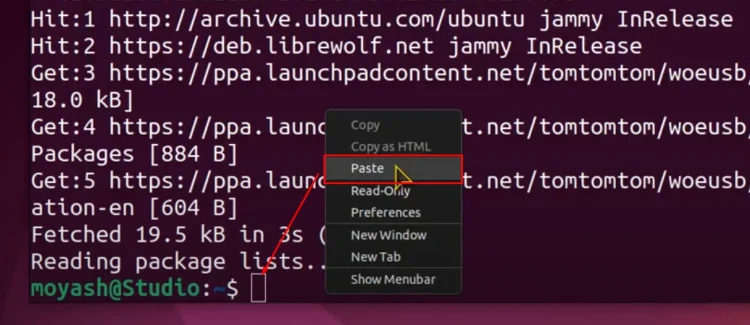
Then do the same for the last line.
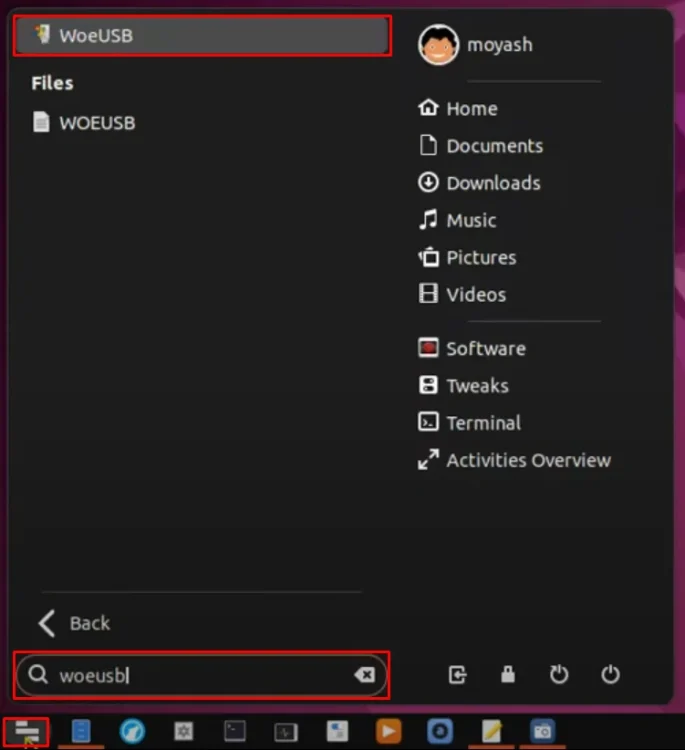
Type “y” for “yes” and hit Enter. The software is now installed. Close the terminal and search for “WoeUSB”.
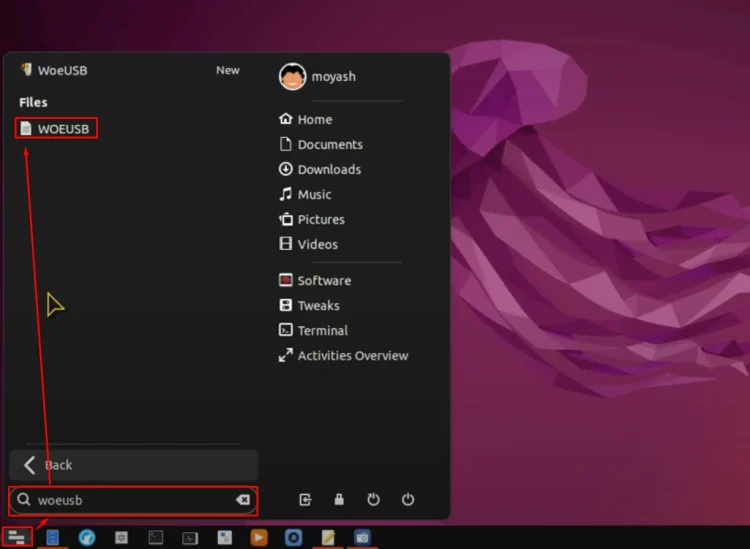
WoeUSB Installation
Let’s test it out. It works!
Now, it’s time to prepare the USB drive. Connect the USB drive and ensure it is empty.
Prepare USB Drive
To prepare the USB drive, we need a tool called “GParted”.
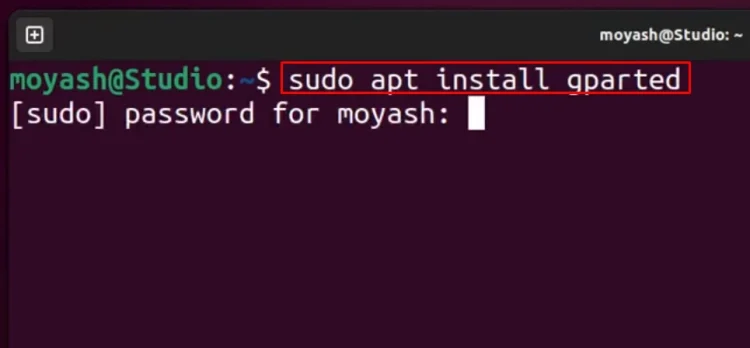
You can install it using this command:
sudo apt install gparted
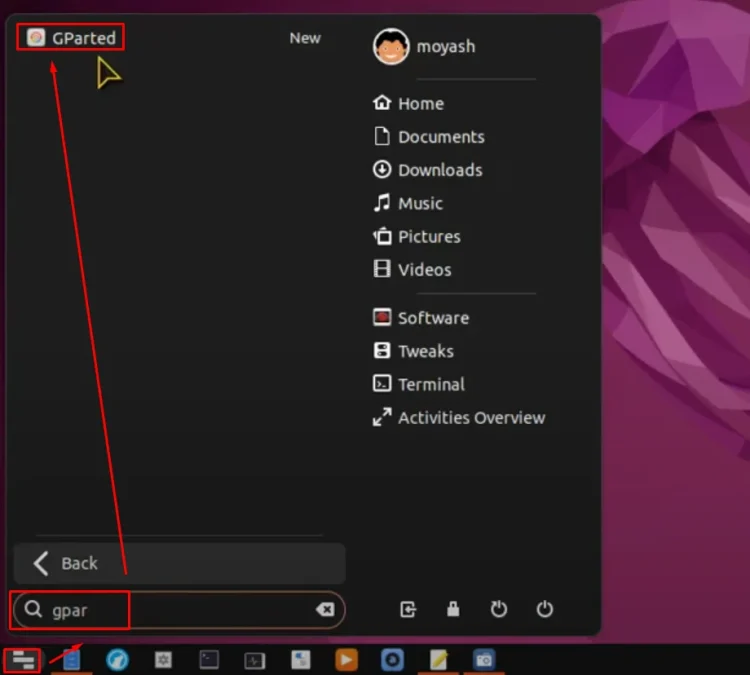
I already have it installed. Run GParted from the dropdown list.
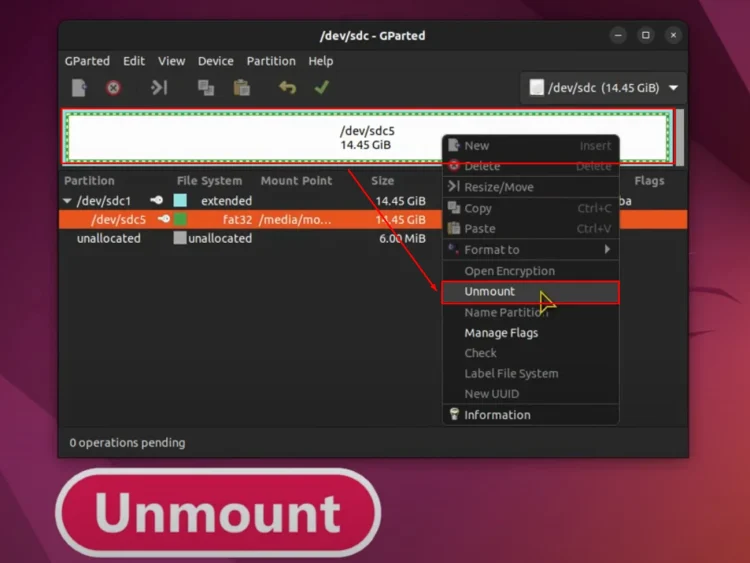
Unmount USB Drive
Navigate to the USB drive page. Find your USB device.
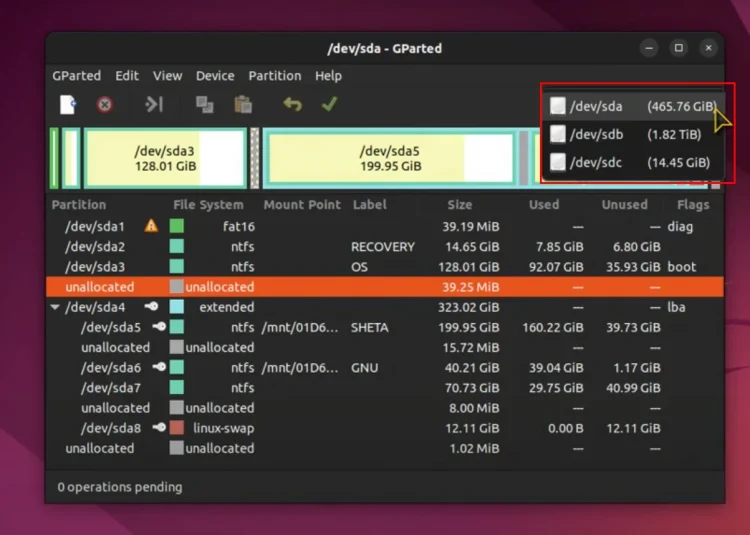
Ensure it is unmounted. Right-click and choose Unmount.
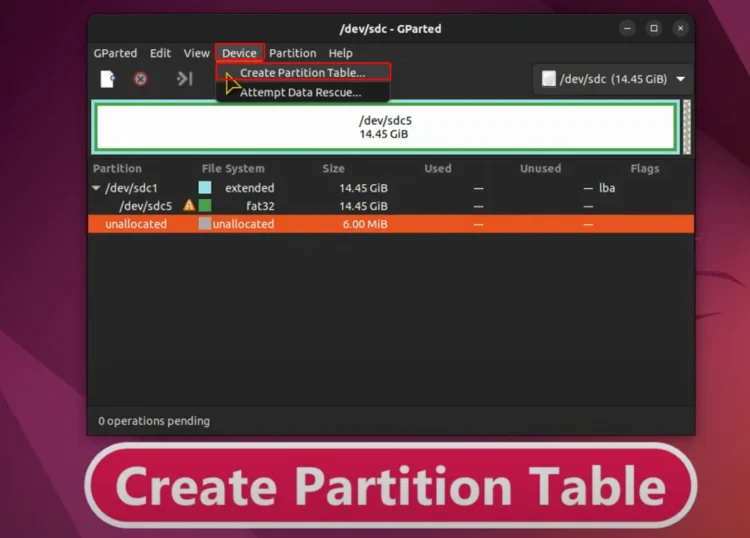
From the device menu, choose Create Partition Table.
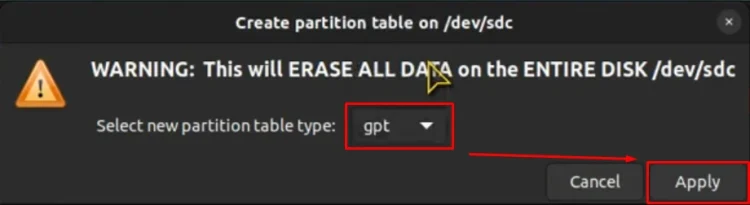
This will erase all data on the USB drive. Change the partition table type to GPT. Click Apply.
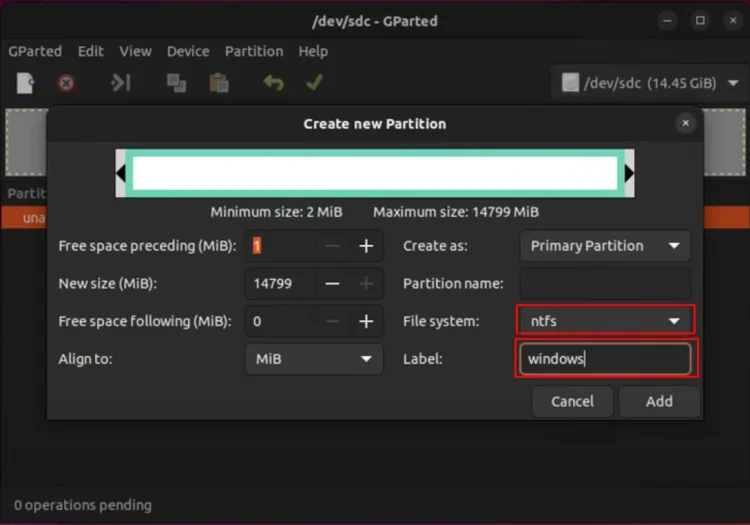
Now, go to the partition menu and create a new partition file system, NTFS.
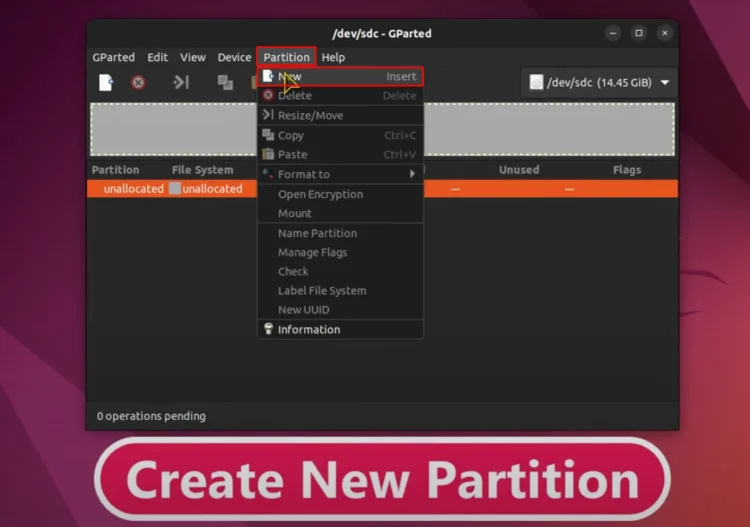
You can give it any label. Click Add.
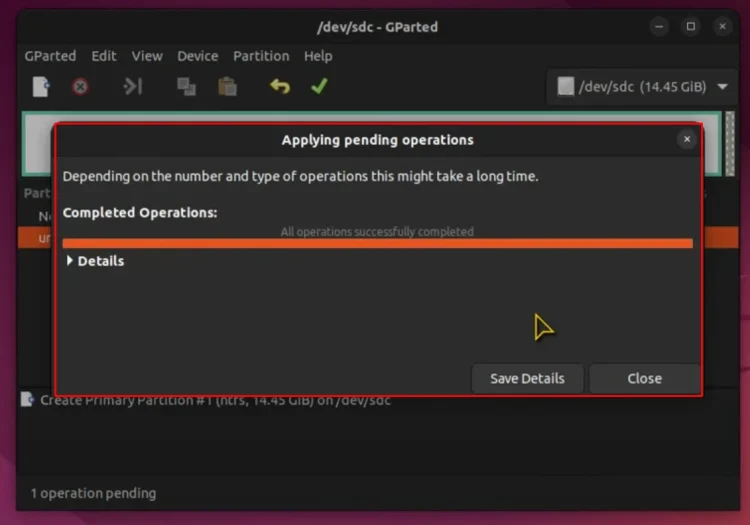
Then apply changes.
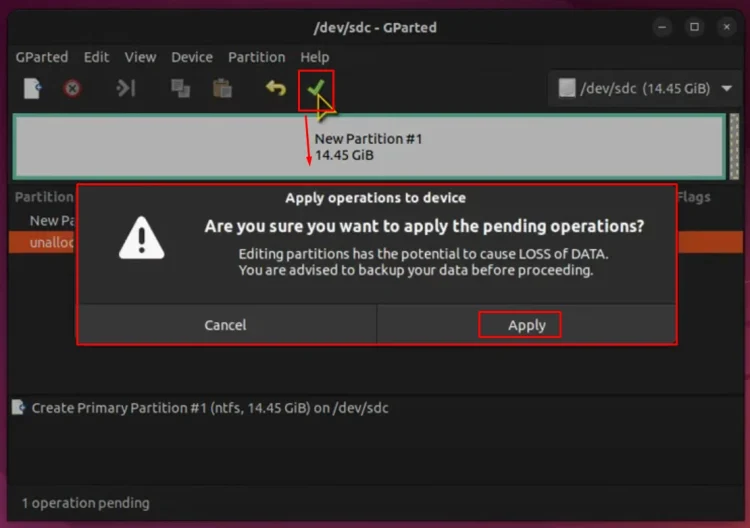
All operations should complete successfully.
Run WoeUSB
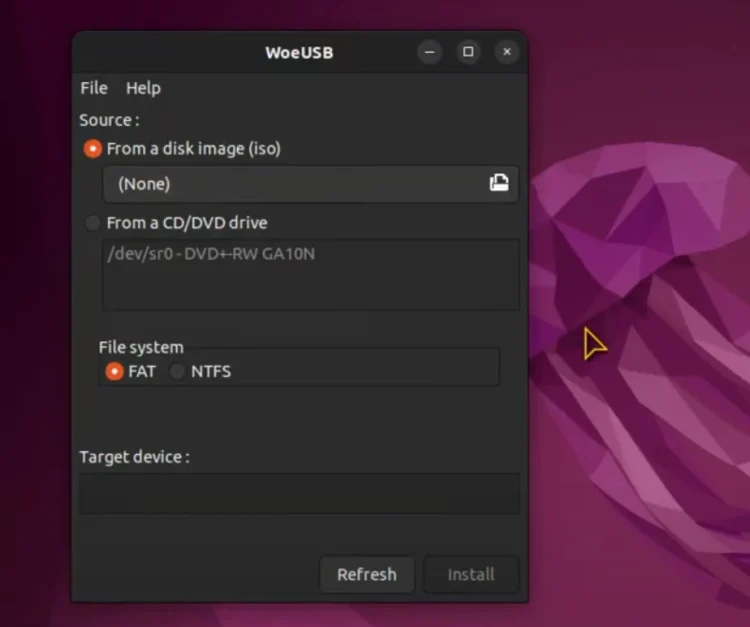
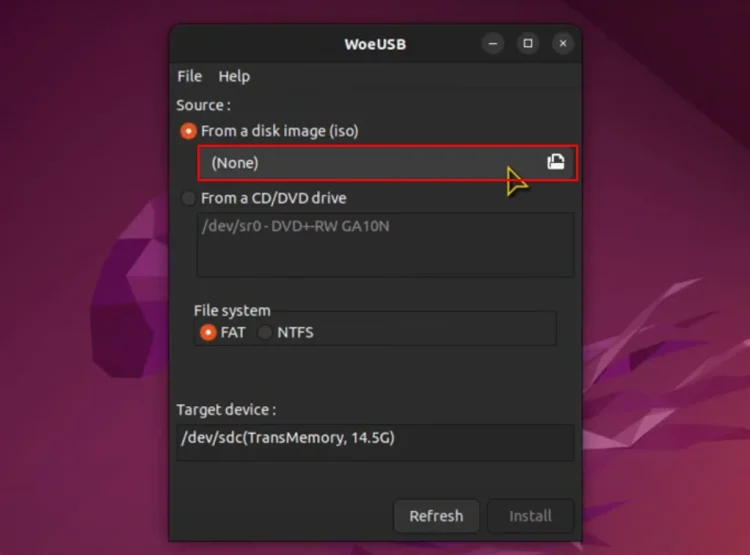
Run WoeUSB.
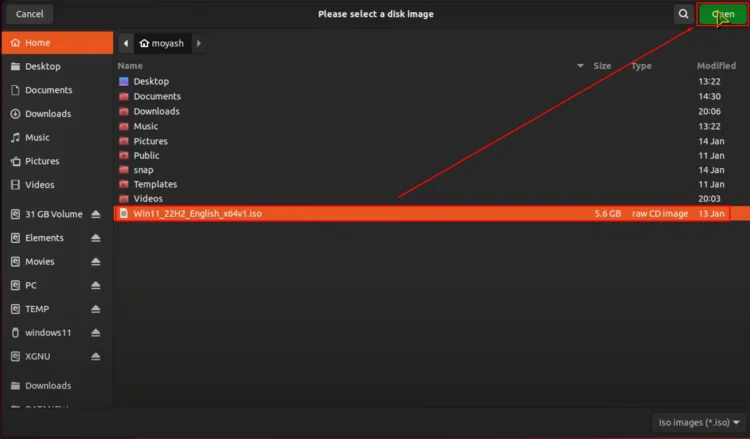
Choose the Windows 11 ISO file.
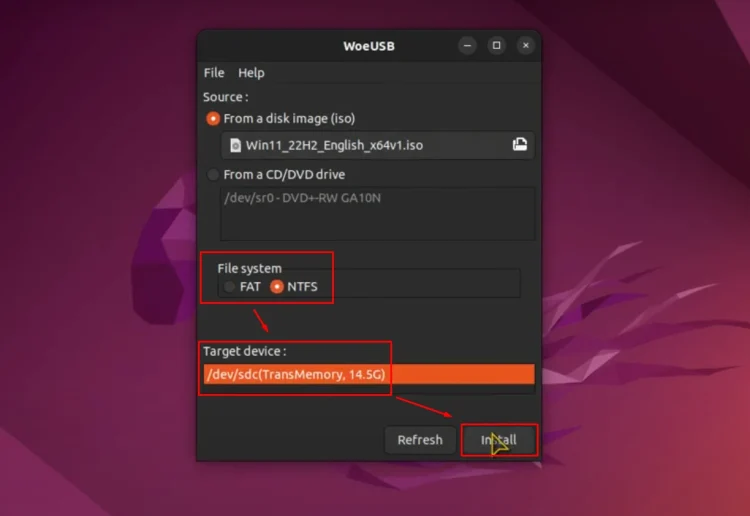
Choose the NTFS File system, USB device and click Install.
Type your password and wait for a few minutes.
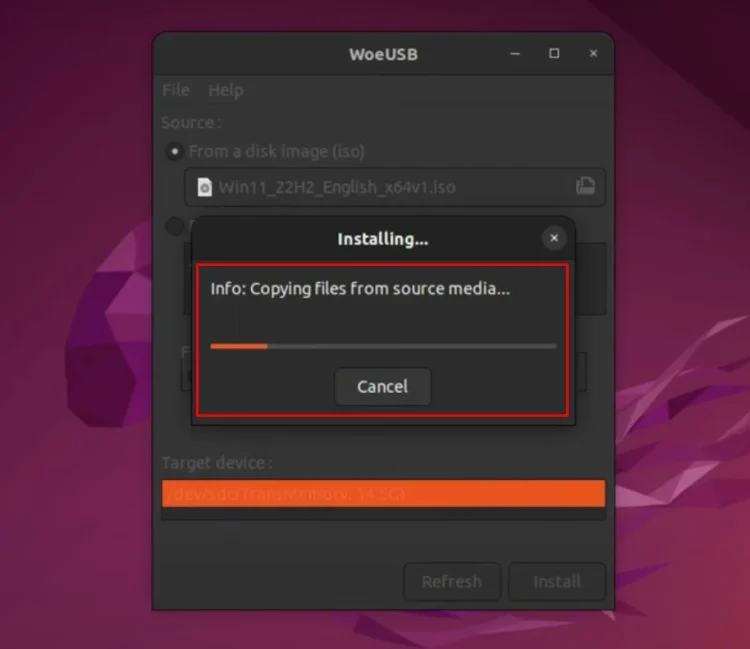
The installation should succeed. Click OK and close WoeUSB.
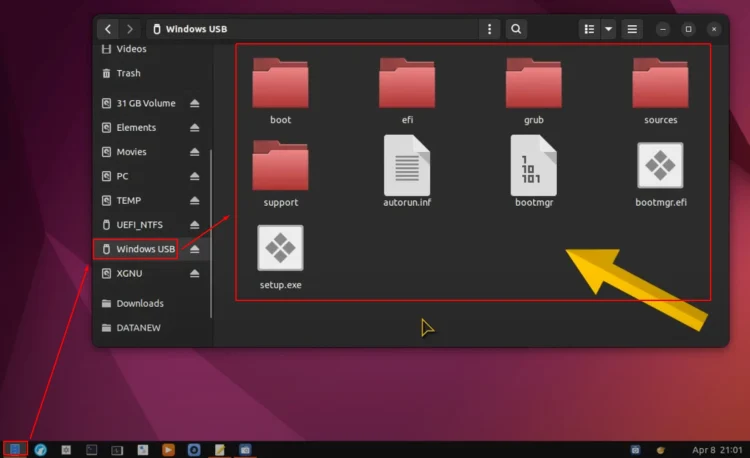
Check USB Drive
Let’s check the USB drive. Open the files and you should see “Windows USB” and the installation files.
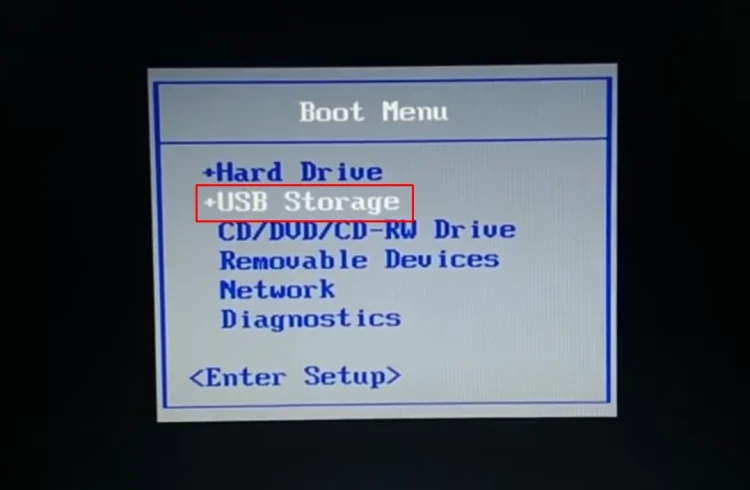
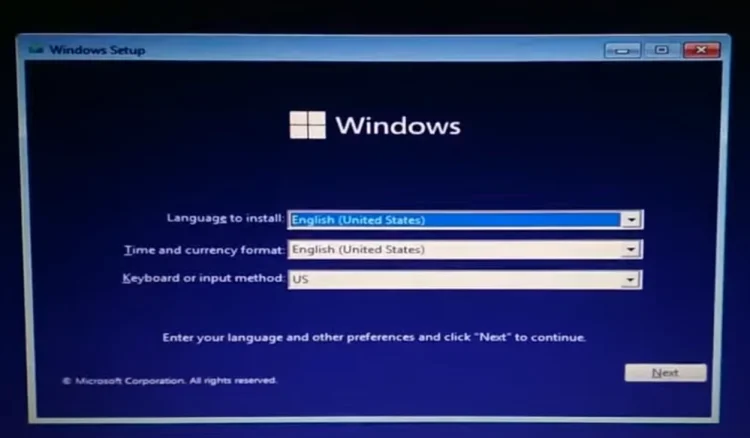
Let’s reboot and see if it works.
Thanks for reading.