
Creating a bootable USB drive with a Mac OS distribution on a computer with the Windows operating system installed may not seem like such a difficult task, given the abundance of available software solutions such as Media Creation Tool, Rufus and other similar programs. But if you want to create a bootable Windows 11 USB drive from a Mac, it may not be so easy. With the popular Boot Camp no longer supported on the latest Apple Silicon-based Mac models, new solutions are needed to burn bootable media from Windows.
In this article, we present to your attention convenient programs that will facilitate the process of creating a bootable USB disk with the Windows 11 distribution for all Macs, including new versions of the operating system.
So, we will look at creating a bootable USB flash drive using the UUByte ISO Editor and WinDiskWriter programs.
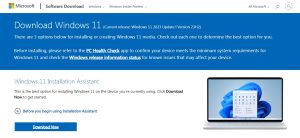
Please prepare a free USB drive with a capacity of at least 8 GB and upload to your Mac Windows 11 distribution from the official website.
Burning with UUByte ISO Editor
As you understand, this tool will help us with burning ISO images to USB media for Mac users who want to install Windows 11. Moreover, it automatically splits the large install.wim file in the Windows 11 ISO image and has a simple and intuitive interface. You can download it from the official website using this link.
If the installation is complete, move the application to Applications and run it.

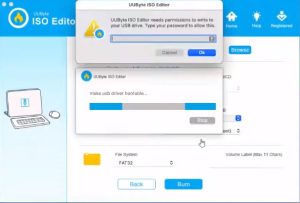
Connect your USB device.
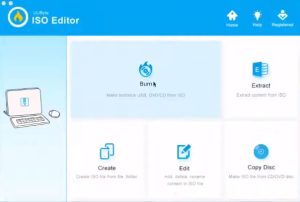
After launching the program, select “Burn” from the main toolbar and select “Create Bootable USB”.
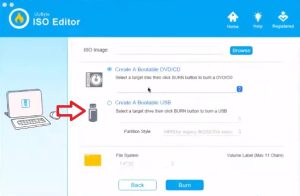
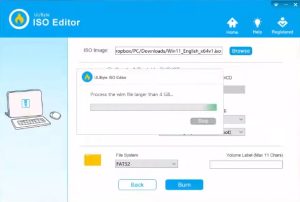
Then, in the window that opens, you need to specify the path to the Windows 11 ISO file and then select the USB drive as the target device. If necessary, you can also change the file system of the flash drive. Once all the settings are specified and confirmed, click the Burn button to begin burning the ISO image to the USB drive. To start working with data, the system may request a password, so you must enter it.
The magic has begun! The program will prepare your device for recording, and then write the Windows 11 distribution to a flash drive.
Once the burning is complete, UUByte ISO Editor will notify you that the process has completed successfully. You now have a bootable USB flash drive with Windows 11 that you can use to install the operating system on your compatible computer.
Creating with WinDiskWriter
Let’s look at the second program for creating bootable media with Windows 11.
WinDiskWriter is software that is completely free and open source. Its task is to simplify the process of burning a flash drive from Windows to macOS as much as possible. The program works on any version of your PC, starting undefined from Mac OS X Snow Leopard 10 and up to the latest at the moment – macOS Sonoma 14. Supported distributions from Windows 7 and higher. All versions of the system can be recorded not only in UEFI mode, but also for booting on computers with Legacy BIOS. The program was released not so long ago, but many users have already appreciated its simplicity and functionality.
Download the WinDiskWriter program from the official repository on GitHub.
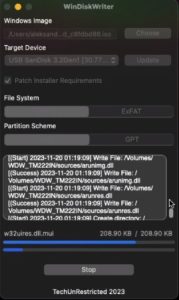
Once we have installed the program, let’s launch it and select the Windows 11 image in the file selection field. Pay attention to the “Target Device” field; the USB media needed for recording should be displayed there.
Check this step carefully.
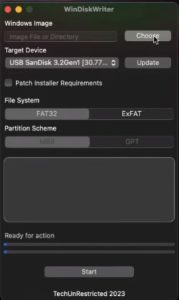
Once you have specified all the settings, click the start button and confirm the installation will begin.
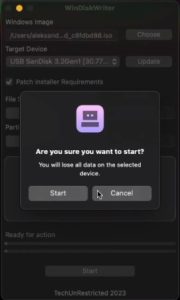
First, the program will format your device, and then write the distribution package.
At the end of the installation, you will receive a message indicating the installation was successful.
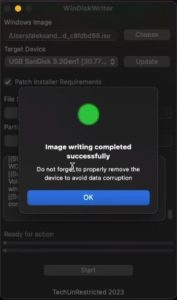
It is recommended to safely disconnect your USB device after installation is complete via the Finder menu. Your bootable media is ready for installation.
We hope that the review of ways to write a Windows 11 distribution onto a USB device did not seem difficult to you and will help you in creating a bootable flash drive on a MacOS computer.